Christmas Trees make me happy, Sweet Friends! They bring me joy and glee and pleasure to see. Maybe it’s the leaves, maybe it’s the season, either way, i’m just not ready to say goodbye to Christmas Trees!

I know it’s January, but I still had Christmas Tree projects I was working on. So, today, I thought I’d take a moment and share one with you. This was a super fun and easy diy that you could do too.

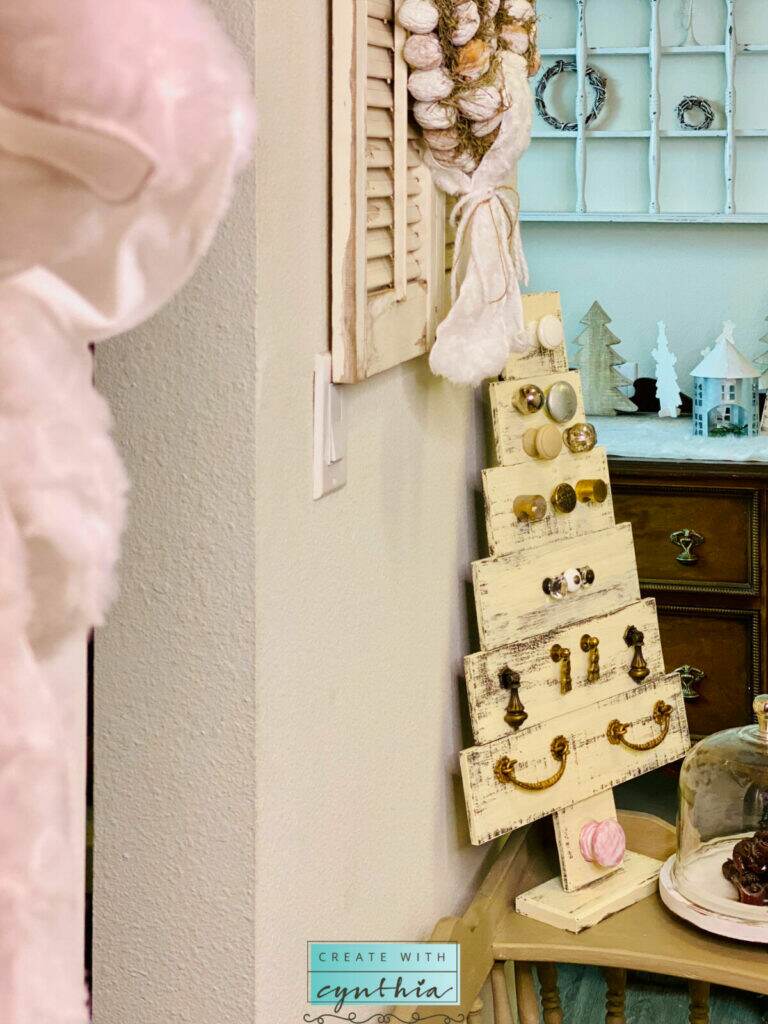
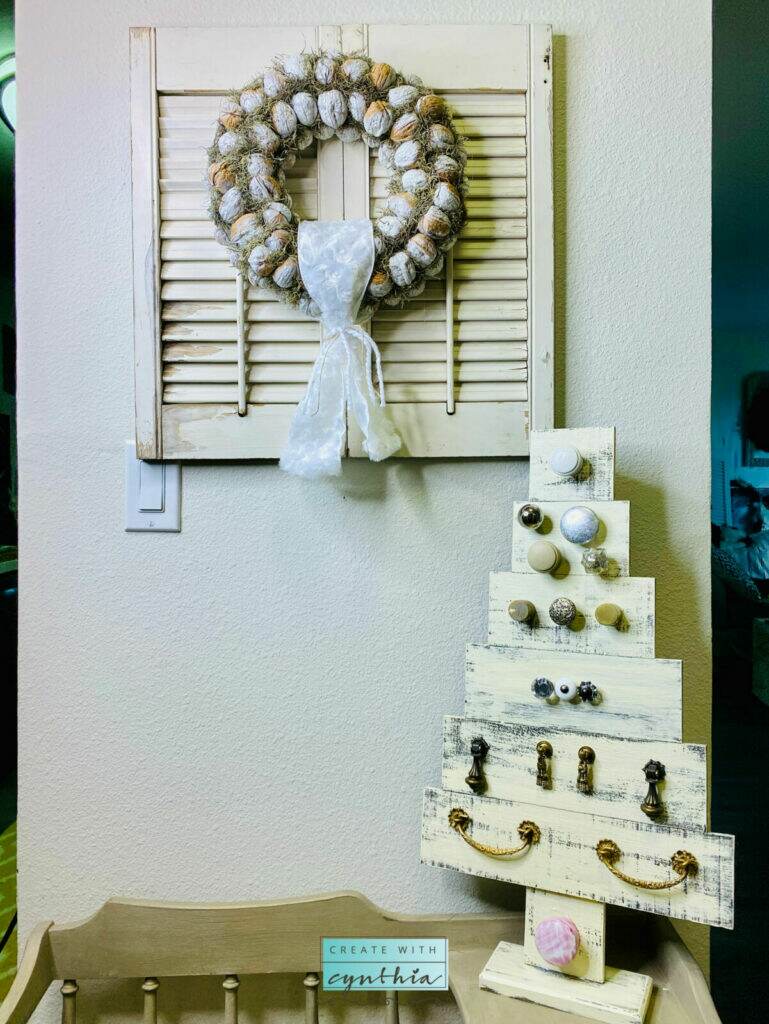
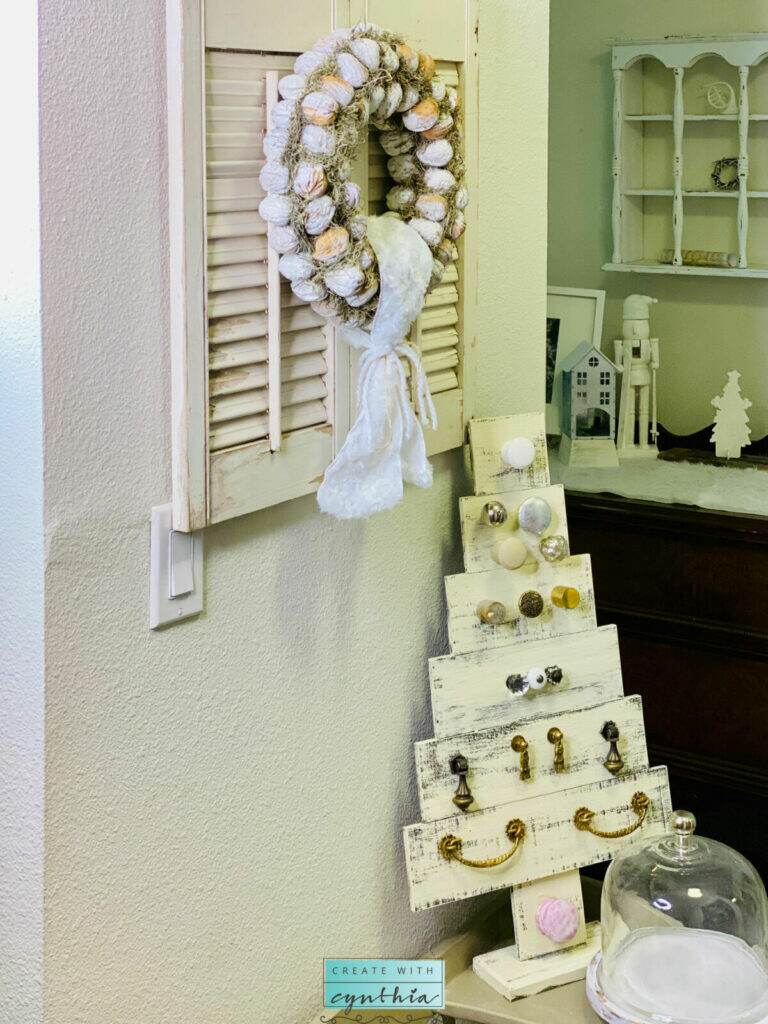
Restored Hardware on a Christmas Tree!
I know I always say my projects are super fun and easy, but they really are. This project required Power Tools, which I’m a little afraid of, but when it was finally complete, it felt so rewarding.

I’ve got the full DIY and Material List at the bottom of the post.
Did you see the photos in my post, Happiness is Homemade, Link Party #305?

Old Knobs on a Christmas Tree!
Oh good!!!! If not, don’t worry, most of them are right here!
Did you read my post yesterday about my fear of power tools? Well that “Shutter Turned Table” project, which you can read here, was waaaaaayyyyy harder than this one, so don’t worry.

Remember when I decorated my front door for Christmas? You can read about the “Five Things You Need to Decorate Your Front Door” here. Well, after I decorated the front door, I picked up the Wood Tree and quickly painted it. I didn’t have much of a plan for it.

Now when I first bought this Christmas Tree it sat on my front porch without any jewels. I mean, old hardware. I didn’t have a plan for it and then.
As January rolled around and I was cleaning out my tool box, I realized I had alot of extra hardware that needed a home.
Sweet Friends, old hardware is like jewelry to me.
And don’t you think the old hardware dressed up this tree beautifully?

Well, let me give you some directions on how to recreate this beauty. In case you love old hardware like I do.

Reclaimed Hardware Christmas Tree!
Materials needed for the Tree:
- Wood Tree by Darice
- Paint or Stain and Sealer
- Paint Brushes
- Old hardware with screws
- Drill or screwdriver
- Glue Gun and Glue Sticks
Directions on how to create the Reclaimed Hardware Christmas Tree:
Step one: Gather your Wood Tree and hardware.

Step two: Paint your Wood Tree. I used Debi’s Design Diary DIY Paint in the color Tarnished Pearl and then sealed the tree with DIY Paint, Big Top. You can purchase these paint products at here.

Step three: Determine where you will place your hardware.

Step four: Use a pen to mark the spots where you will drill holes.

Step five: Drill holes.

Step six: Add hardware. If needed us a Glue Gun to add the hardware onto the tree instead of using the drill or screwdriver.

Step seven: Enjoy your Reclaimed Hardware Christmas Tree.

If you’d like to purchase products similar to what I used, here are the links:
Now go out there and create something.
Cynthia


Many of the links on this blog are affiliate links. CreateWithCynthia.com receives a small commission when certain items are purchased, but the price is the same for you. CreateWithCynthia.com is a participant in the Amazon Services LLC Associates Program, an affiliate advertising program designed to provide a means for sites to earn advertising fees by advertising and linking to amazon.com.