• ABOUT
  • Work With Me
  • Blog
    • DIY Home Decor
    • DIY Projects
    • Furniture Makeovers
    • Holiday and Season
    • Travel & Events
    • Life & Updates
    • Weekly Roundups
  • Contact
  • Follow me on social!

Create With Cynthia

DIY Home Decor with a Vintage and Seasonal flair

You are here: Home / DIY Home Decor / 5 Steps to Restoring Thrift Store Items (Video Series – Part 5)

5 Steps to Restoring Thrift Store Items (Video Series – Part 5)

December 5, 2018 by Cynthia Nessel

Sharing is caring!

  • Share
  • Tweet
  • Email

Today is Part 5 (the final installment) of my “5 Steps to Restoring Thrift Store Items” series. This is a five-part video series to share tips for restoring thrift store items at home.  I will be sharing all about A Maker’s Studio products.

5th Step in my 5 Steps to Restore Thrift Store Items with A Maker’s Studio Products.

Restoring Thrift Store Items Video Series

In Blog Post 1, which you can read about here, I showed you how you can purchase items at the Thrift Store and clean them with A Maker’s Studio Furniture Cleaner. 

Chalk Art and Adhesive Stencils are so easy to use.

When you find an item that you just don’t like anymore, rather than adding it to landfill, restore or refurbish it with paint, chalk art or stencils.

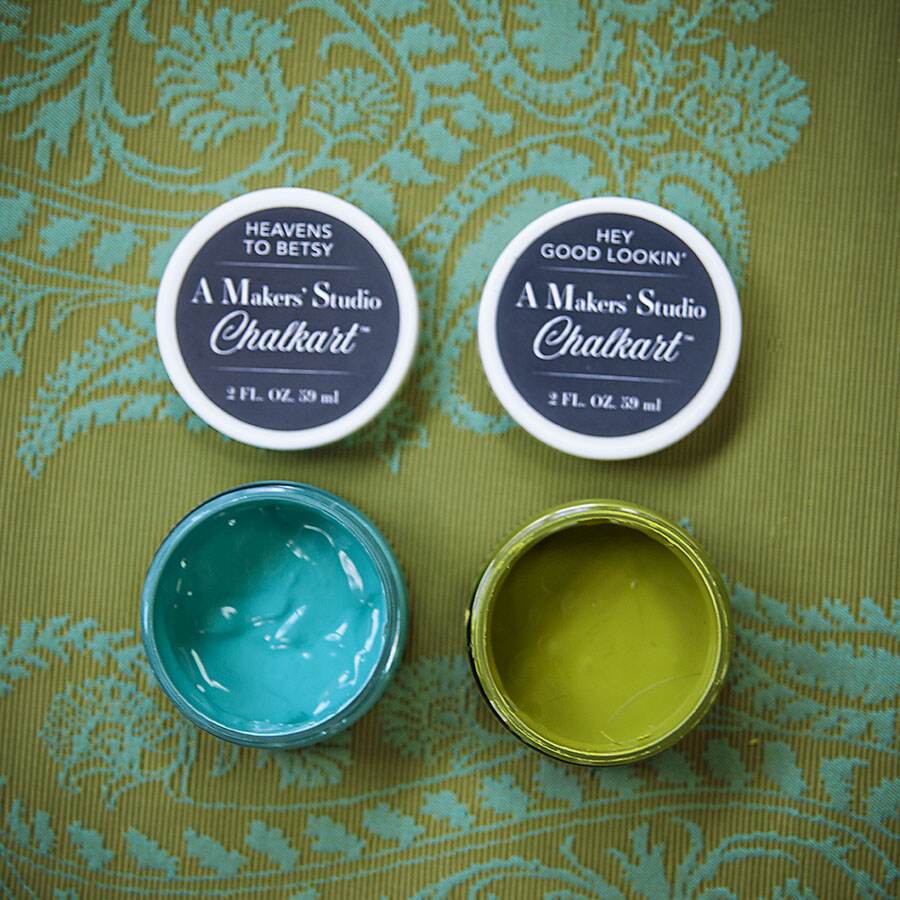
Chalk Art comes in over 20 different colors and is actually chalk, not paint.  Chalk Art when applied to a surface will easily wash off with water.  If you don’t want the Chalk Art to come off, then you should seal it was a Sealer.  

For instance, I highly recommend the Matte Sealer from A Maker’s Studio.  Water can be applied to the Chalk Art and you should keep your container closed when you are finished using it as the air will dry it out.

Create with cynthia, cynthia nessel, A Maker's Studio, Thrift Store items, Craft a Beautiful Life, Enjoy the Bragging Rights, Rescue and Restore Paint, Gilding, Chalk Art, Adhesive Stencils, bay area bloggers, san francisco bloggers, furniture restoration, diy vintage decor
Photo of Chalk Art by A Maker’s Studio

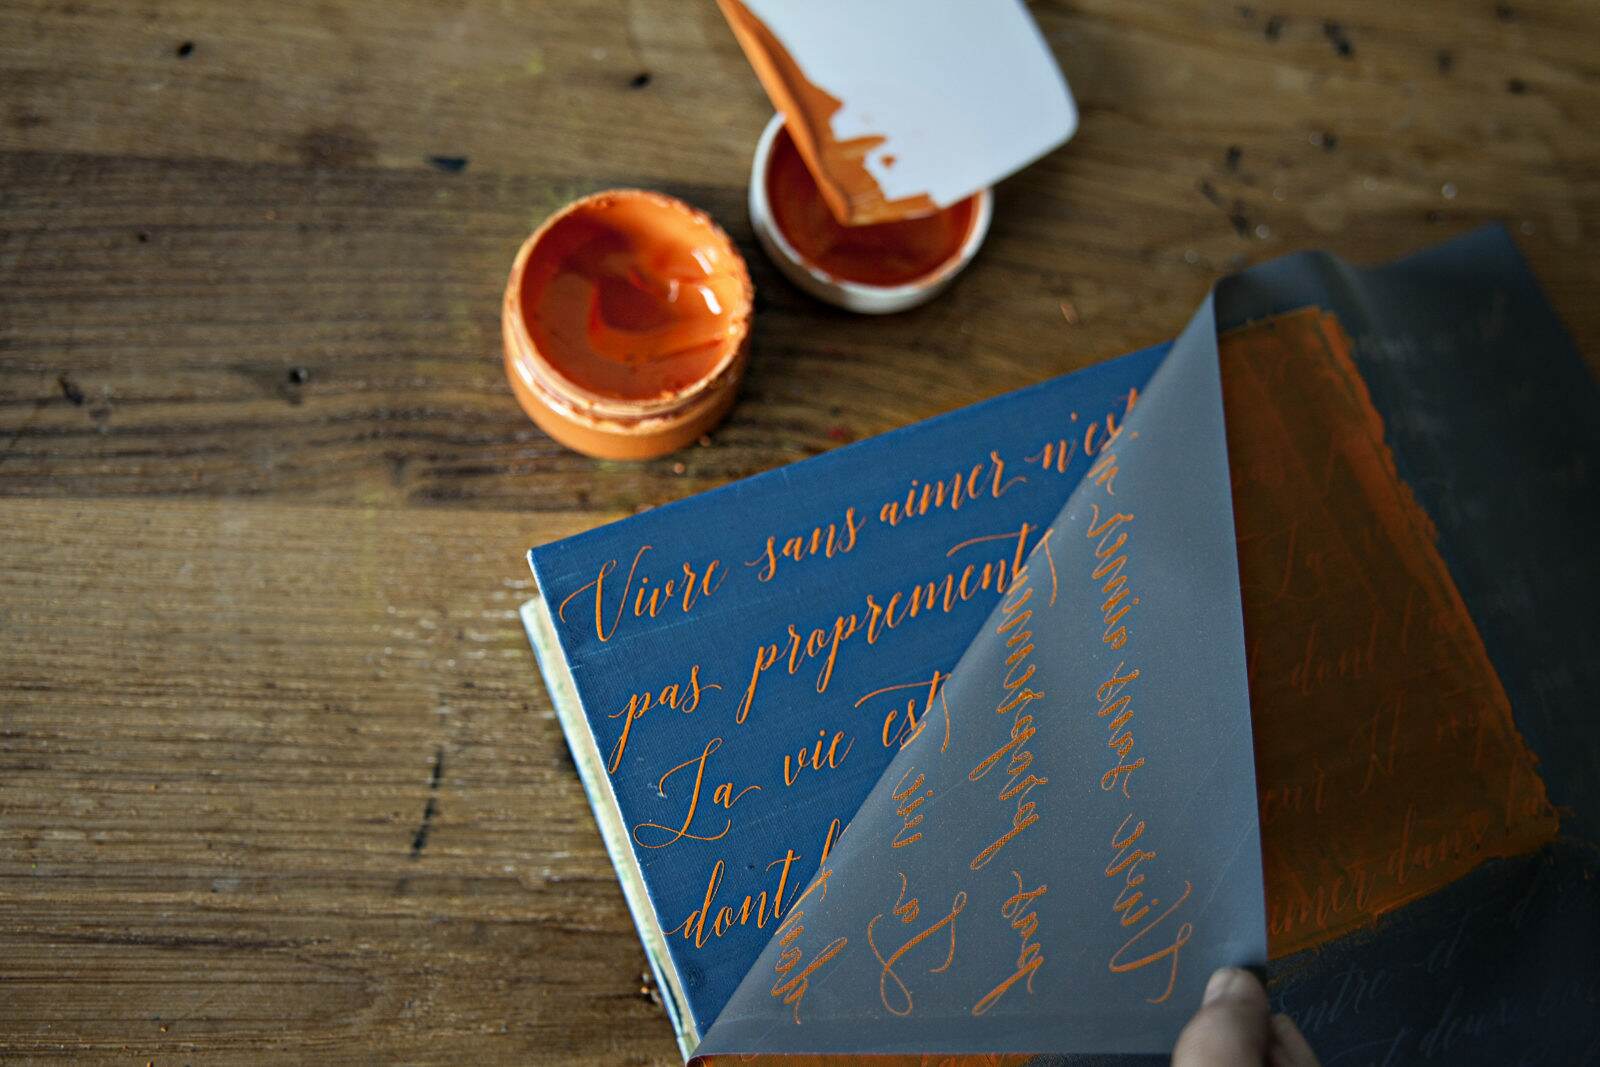
How to Use Adhesive Stencils

Adhesive Stencils are another way to enhance an item that you don’t like anymore.  Working with adhesive stencils makes stenciling easy because of the stickiness on the stencil.  Just like traditional stencils, they can also be used over and over again.  Just clean them with soap and water and you’re ready to go.

Adhesive Stencils should be use with just one type of product.  For example, if you are using a particular stencil with Chalk Art, don’t then try and use it with the Rescue and Restore Paint. 

Create with cynthia, A Maker's Studio, Thrift Store items, Craft a Beautiful Life, Enjoy the Bragging Rights, Rescue and Restore Paint, Gilding, Chalk Art, Adhesive Stencils
Photo of Chalk Art and Stencils by A Maker’s Studio

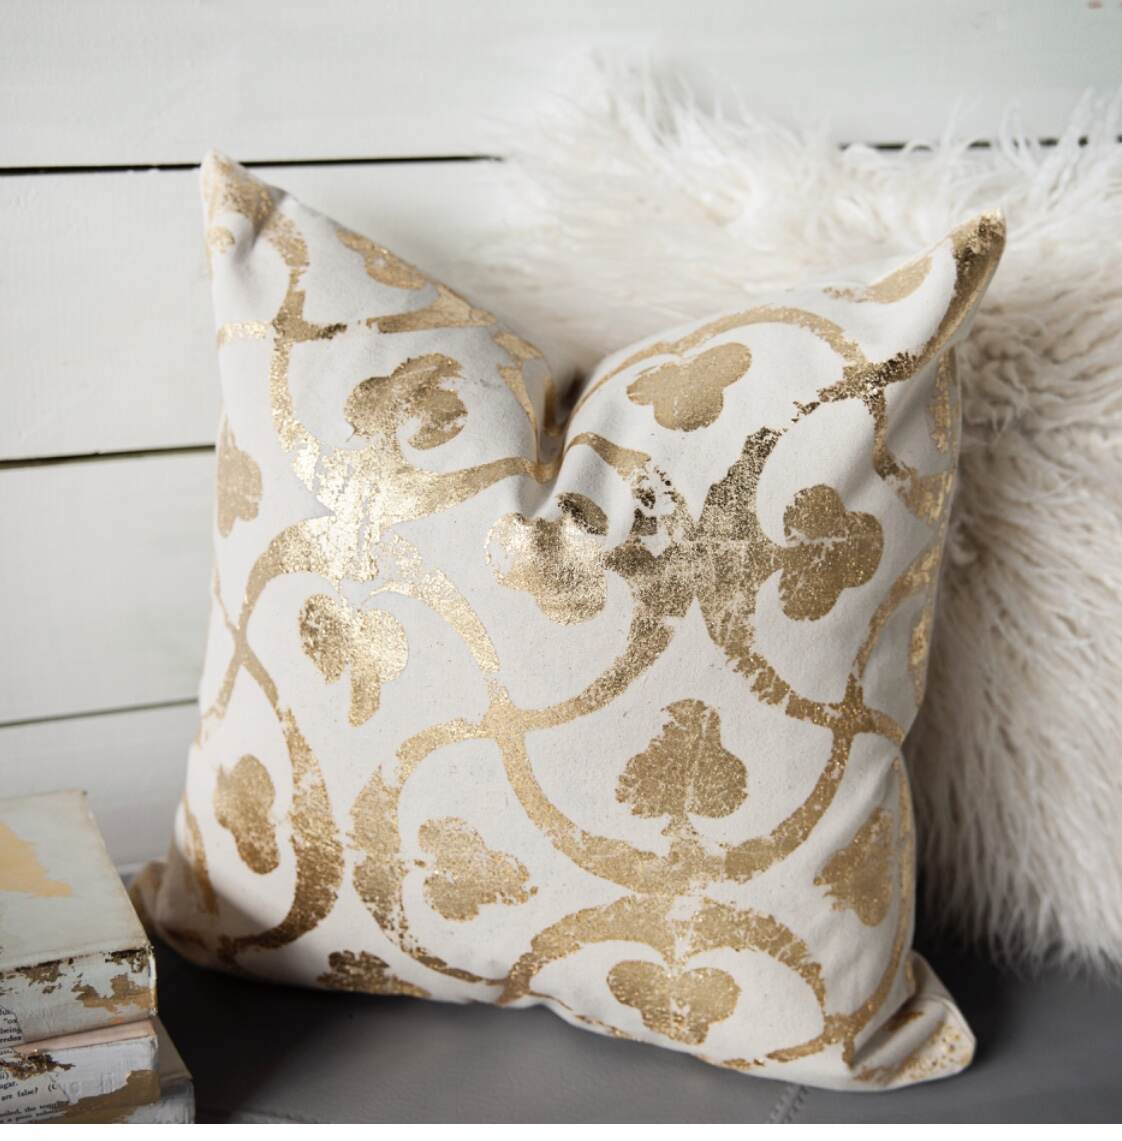
Adhesive Stencils can also be use with our Gilding Size and Leaf.   Look at how beautiful this pillow turned out.

If you’d like to join me at a workshop to complete the pillow, please leave a comment below.

Create with cynthia, A Maker's Studio, Gilding, Craft a Beautiful Life, Enjoy the Bragging Rights, Rescue and Restore Paint
Gilded Pillow

Thanks for following along sweet friends!

I hope that you have enjoyed my “5 Steps to Restoring Thrift Store Items.”  Please be sure to subscribe to my You Tube channel so that you can receive notifications when I post new videos.

Take a look at what I restored.

Create with cynthia, diy restoration, restoring thrift store items, A Maker's Studio, Thrift Store items, Craft a Beautiful Life, Enjoy the Bragging Rights, Rescue and Restore Paint, Gilding, Chalk Art, Adhesive Stencils
5th Step in my 5 Steps to Restore Thrift Store Items with A Maker’s Studio Products.

Watch the video tutorial

If you’d like to watch my video, you can visit my YouTube channel; Cynthia Nessel – Create with Cynthia.  Click here to watch this video on YouTube.

Thanks for following along!  I look forward to seeing what projects you’re working on.  If you have a project to share, you can post it on Instagram or Facebook and use the hashtag #CreatewithCynthia to share them with me.

create with cynthia, cynthia nessel, redwood city, san francisco bloggers, bay area bloggers, furniture restoration, diy vintage decor

Sharing is caring!

  • Share
  • Tweet
  • Email

Filed Under: DIY Home Decor, DIY Projects

the PAST
the FUTURE

FOLLOW ME!

Subscribe Here For:

Hello & Welcome!

Cynthia Nessel, Create with Cynthia

Hi, I’m Cynthia Nessel, the founder and editor of Create with Cynthia, a DIY craft and hobby blog, where I share tips and step-by-step tutorials for vintage enthusiasts. This space is an expression of who I am and what I love to do. ❤ Read More »

Recent Posts

Barstools using Iron Orchid Designs Decor Transfer

Vintage Barstools in a New Space!

My Favorite Dress Up Clothes on Create With Cynthia

My Favorite Dress Up Clothes!

Mother's Day Gift Guide 2021!-8

Mother’s Day Gift Guide 2021 and a Story About My Mom!

Categories

FURNITURE MAKEOVERS

HOME DECOR

DIY PROJECTS

HOLIDAY & SEASON

LIFE & UPDATES

TRAVEL & EVENTS

LINK PARTIES

Follow

Dollar Store Planter Ideas!

Tips on using Iron Orchid Design Transfers on a Furniture Makeover!

Nutcracker Christmas Table Decor!

Selling in an Antique Mall!!!

DIY Monogrammed Handkerchief's!

More Links

  • ABOUT OLD
  • Work With Me
  • Contact me

Create with Cynthia

Vintage Design & Decor

Vintage

Design

FOLLOW ME

Follow @CreateWithCynthia on Instagram

Copyright © 2024 · Create With Cynthia· Website Design by Chantilly Patiño