• ABOUT
  • Work With Me
  • Blog
    • DIY Home Decor
    • DIY Projects
    • Furniture Makeovers
    • Holiday and Season
    • Travel & Events
    • Life & Updates
    • Weekly Roundups
  • Contact
  • Follow me on social!

Create With Cynthia

DIY Home Decor with a Vintage and Seasonal flair

You are here: Home / Uncategorized / Learn How to Gild Easter Eggs!

Learn How to Gild Easter Eggs!

April 14, 2020 by Cynthia Nessel

Sharing is caring!

  • Share
  • Tweet
  • Email
create with cynthia, cynthia nessel, gilded easter eggs, easter eggs, diy easter eggs, a maker's studio, craft a beautiful life, enjoy the bragging rights

Easter is over and it is a bit surprising to believe. I hope your day was filled with joy and that you stayed safe and healthy. I’ve still got Easter on my mind and enjoying all of my Easter home decor items. Are you ready to, “Learn How to Gild Easter Eggs?”

create with cynthia, cynthia nessel, gilded easter eggs, easter eggs, diy easter eggs, a maker's studio, craft a beautiful life, enjoy the bragging rights

Easter Eggs Gilded!

Eggs can be displayed all throughout Spring, they really aren’t just meant for Easter decor. Today, I’ll show you how I gilded wooden Easter Eggs and incorporated them into my Spring decor.

Are you ready to learn how to gild Easter Eggs for Spring decor? Oh good. I’m ready too.

create with cynthia, cynthia nessel, gilded easter eggs, easter eggs, diy easter eggs, a maker's studio, craft a beautiful life, enjoy the bragging rights

I’ve also gilded Vases and Wine Glasses, Wood Pumpkins, Pillows, Holiday Cards and even Christmas Ornaments. Oh my!!!! Gilding just adds that special touch to any item and makes it look truly one of a kind.

create with cynthia, cynthia nessel, gilded easter eggs, easter eggs, diy easter eggs, a maker's studio, craft a beautiful life, enjoy the bragging rights

Learn How to Gild Easter Eggs!

I prefer to use A Maker’s Studio Gilding and Metallic Leaf products; Size and Leaf. I also sell these products on my website so don’t forget to stop by and go shopping at my online store.

create with cynthia, cynthia nessel, gilded easter eggs, easter eggs, diy easter eggs, a maker's studio, craft a beautiful life, enjoy the bragging rights

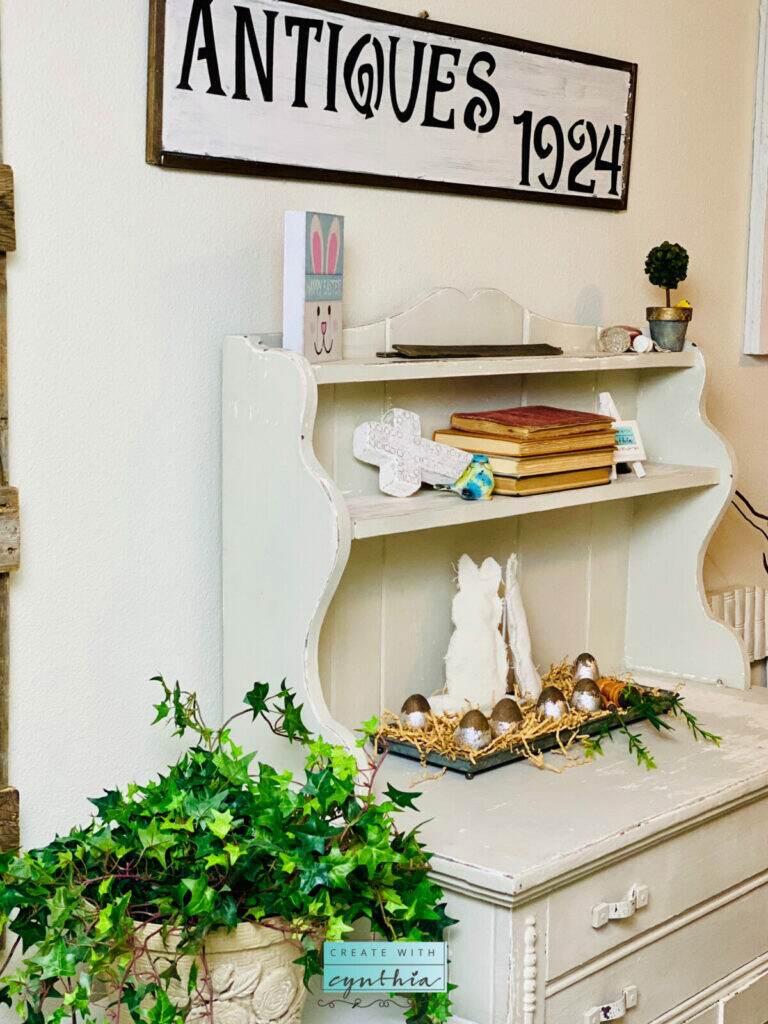
You can also check out how to create these Drop Cloth Bunnies and Spindle Leg Carrots on my You Tube channel. This Spring I really enjoyed styling my vintage carrots and bunnies with Easter Eggs.

Now let’s get into the tutorial on How to Create Gilded Easter Eggs.

create with cynthia, cynthia nessel, gilded easter eggs, easter eggs, diy easter eggs, a maker's studio, craft a beautiful life, enjoy the bragging rights

Materials needed to Create Gilded Easter Eggs:
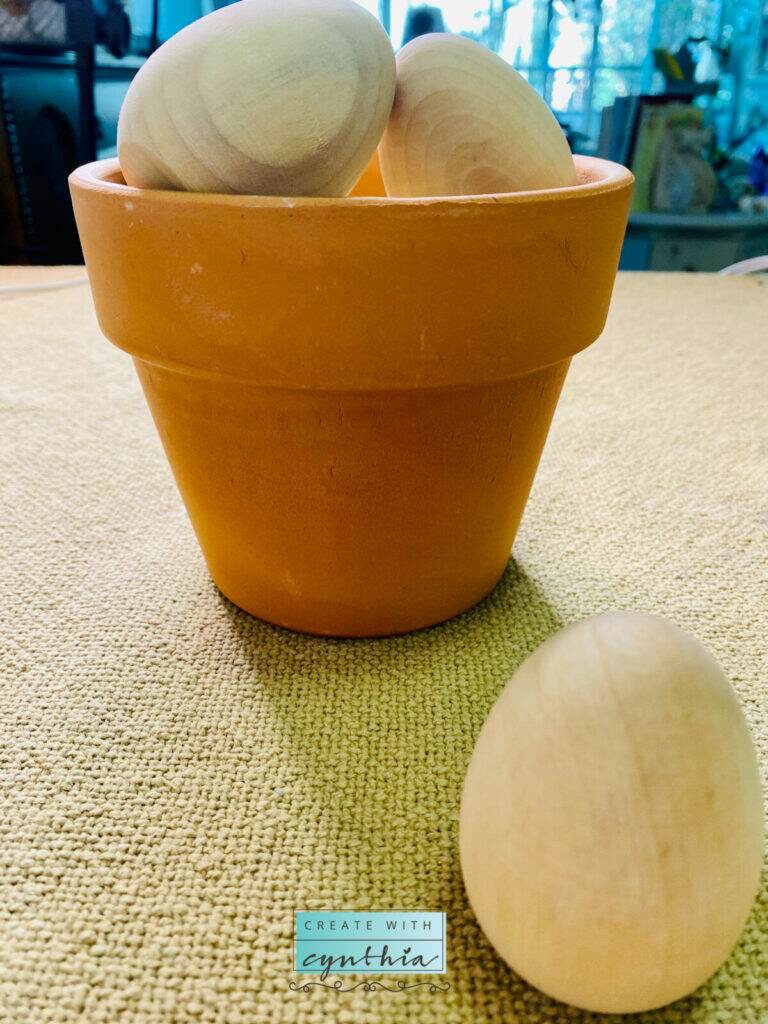
  • Wooden Eggs
  • DIY Paint Dark and Decrepit
  • A Maker’s Studio Gilding Size
  • A Maker’s Studio Metallic Leaf
  • Paint Brush
create with cynthia, cynthia nessel, gilded easter eggs, easter eggs, diy easter eggs, a maker's studio, craft a beautiful life, enjoy the bragging rights

Instructions on How to Create Gilded Easter Eggs:

Step one: Stain your wooden eggs.

create with cynthia, cynthia nessel, gilded easter eggs, easter eggs, diy easter eggs, a maker's studio, craft a beautiful life, enjoy the bragging rights

Step two: Use a paintbrush and apply the gilding size to the egg and wait 5-10 minutes for the gilding size to come to tack.

create with cynthia, cynthia nessel, gilded easter eggs, easter eggs, diy easter eggs, a maker's studio, craft a beautiful life, enjoy the bragging rights

Step three: Apply leaf onto tacked surface. You can chose Gold, Silver, Copper or Variegated Copper. I chose all of the above.

create with cynthia, cynthia nessel, gilded easter eggs, easter eggs, diy easter eggs, a maker's studio, craft a beautiful life, enjoy the bragging rights

Tip: Leaf can be cut into different sizes. Pull tissue paper away from leaf and adhere to surface with tack.

create with cynthia, cynthia nessel, gilded easter eggs, easter eggs, diy easter eggs, a maker's studio, craft a beautiful life, enjoy the bragging rights

Step four: Burnish leaf onto surface.

create with cynthia, cynthia nessel, gilded easter eggs, easter eggs, diy easter eggs, a maker's studio, craft a beautiful life, enjoy the bragging rights

Tip: Burnish is the process of rubbing on the surface. Use the tissue paper or a paint brush and rub the leaf onto the surface. This allows the leaf to better adhere itself to the surface and will remove air bubbles.

create with cynthia, cynthia nessel, gilded easter eggs, easter eggs, diy easter eggs, a maker's studio, craft a beautiful life, enjoy the bragging rights

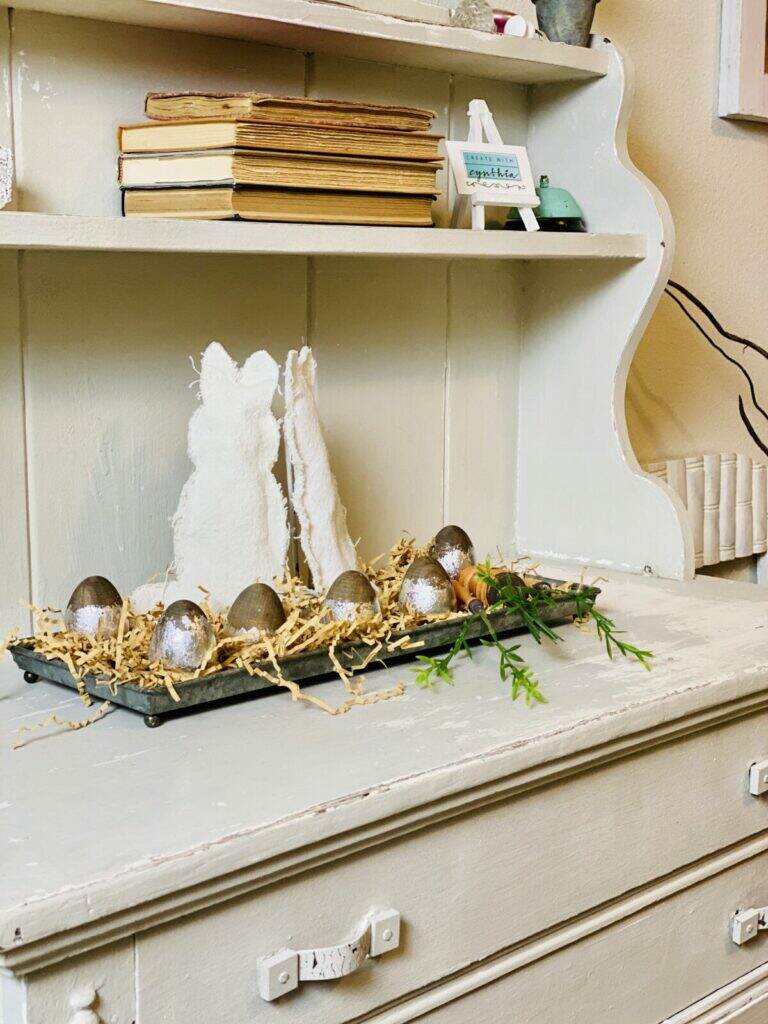
Step five: Enjoy your Gilded Easter Eggs.

create with cynthia, cynthia nessel, gilded easter eggs, easter eggs, diy easter eggs, a maker's studio, craft a beautiful life, enjoy the bragging rights

The leaf can be a little messy to be sure to use a drop cloth.

create with cynthia, cynthia nessel, gilded easter eggs, easter eggs, diy easter eggs, a maker's studio, craft a beautiful life, enjoy the bragging rights

I’m in love with all my Easter Decor this year and carrying it over into Spring in my home. Style your carrots, bunny and eggs on a tray with some grass. There are so many ways to enjoy these beauties.

create with cynthia, cynthia nessel, gilded easter eggs, easter eggs, diy easter eggs, a maker's studio, craft a beautiful life, enjoy the bragging rights

Now go out there and Create Something.

Cynthia

create with cynthia, cynthia nessel, gilded easter eggs, easter eggs, diy easter eggs, a maker's studio, craft a beautiful life, enjoy the bragging rights
Create with Cynthia, Cynthia Nessel, A Maker's Studio, Craft a Beautiful life, Enjoy the bragging rights, Thanksgiving
Create with cynthia, cynthia nessel, A Maker's studio, Maker Boss, Vintage Telephone Bench, Refurbished Furniture, DIY Painted furniture, debi's design diary diy paint
create with cynthia, cynthia nessel, gilded easter eggs, easter eggs, diy easter eggs, a maker's studio, craft a beautiful life, enjoy the bragging rights
How to Create a Morning Routine During Quarantine.

Sharing is caring!

  • Share
  • Tweet
  • Email

Filed Under: Uncategorized

the PAST
the FUTURE

FOLLOW ME!

Subscribe Here For:

Hello & Welcome!

Cynthia Nessel, Create with Cynthia

Hi, I’m Cynthia Nessel, the founder and editor of Create with Cynthia, a DIY craft and hobby blog, where I share tips and step-by-step tutorials for vintage enthusiasts. This space is an expression of who I am and what I love to do. ❤ Read More »

Recent Posts

Barstools using Iron Orchid Designs Decor Transfer

Vintage Barstools in a New Space!

My Favorite Dress Up Clothes on Create With Cynthia

My Favorite Dress Up Clothes!

Mother's Day Gift Guide 2021!-8

Mother’s Day Gift Guide 2021 and a Story About My Mom!

Categories

FURNITURE MAKEOVERS

HOME DECOR

DIY PROJECTS

HOLIDAY & SEASON

LIFE & UPDATES

TRAVEL & EVENTS

LINK PARTIES

Follow

Dollar Store Planter Ideas!

Tips on using Iron Orchid Design Transfers on a Furniture Makeover!

Nutcracker Christmas Table Decor!

Selling in an Antique Mall!!!

DIY Monogrammed Handkerchief's!

More Links

  • ABOUT OLD
  • Work With Me
  • Contact me

Create with Cynthia

Vintage Design & Decor

Vintage

Design

FOLLOW ME

Follow @CreateWithCynthia on Instagram

Copyright © 2025 · Create With Cynthia· Website Design by Chantilly Patiño