Hey there, Sweet Friends, it’s Valentine’s Day tomorrow and I have been looking at archives on the blog and reminding myself of the projects I created last year. Yesterday, I actually got my hands on a little paint and created a few more projects.
Wanna see what’s been going on in the Create With Cynthia house?

Tuesday, I shared “Valentine’s Day Projects using Stencils” and I showed off projects that I did using Essential Stencils and JRV Stencils. Mostly, cute and simple Valentine’s Day signs. Check it out.
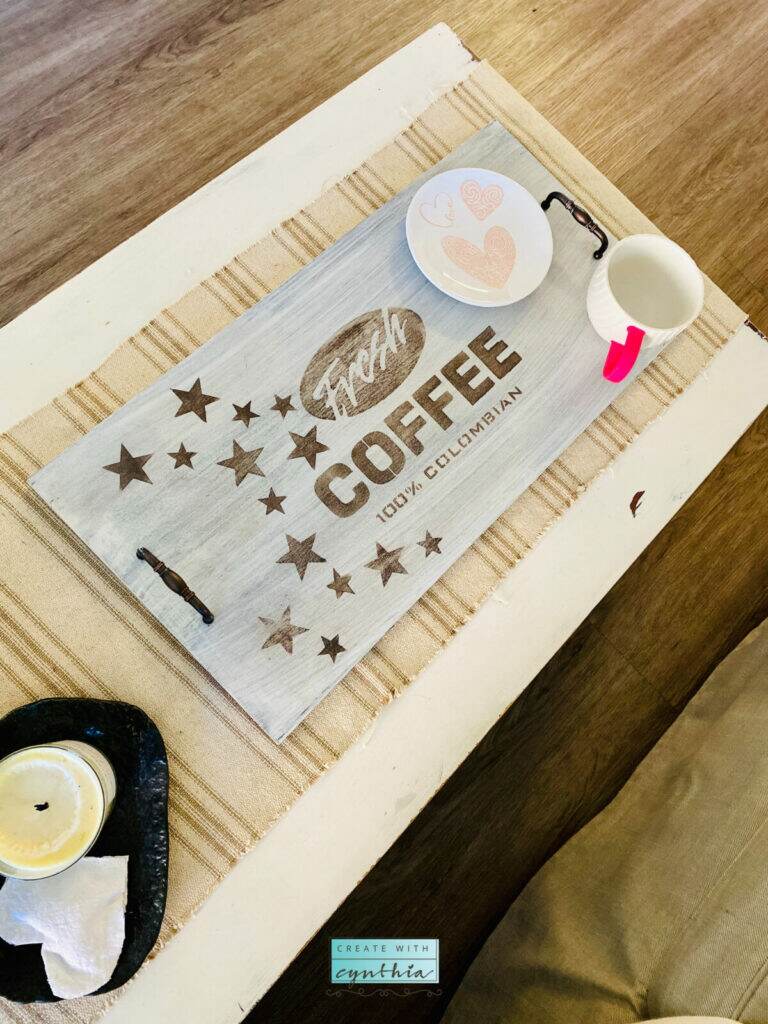
Well, then on Wednesday morning as I was enjoying my coffee, I remembered I needed to finish up an old tray I started. My “Old Sign Stencils” by Funky Junks had arrived last week and they were sitting on the table ready to be used.

I created this tray for my bathroom storage ladder and it sits on the lower shelf. Remember my “Old Ladder Bathroom Storage Idea!” I had always intended on stenciling the tray, but never got around to finishing it off. What do you think?

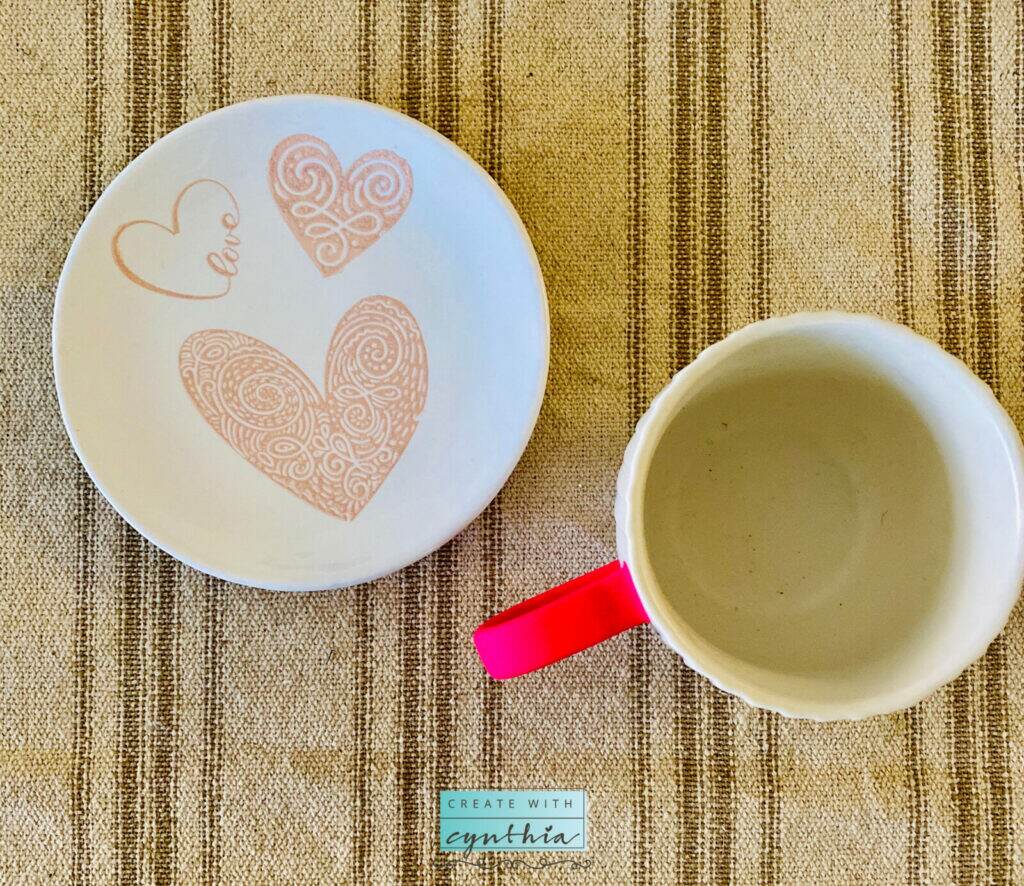
I also played around a bit with A Maker’s Studio Valentine’s Stencils and the NEW Ceramic Paints. If you haven’t heard A Maker’s Studio has created new paints that can be used on ceramic and they are food safe.
And can I just tell you, I am a big coffee drinker and this lil tray is going to get a lot of use in my home!
But, let’s not forget about last year.
Ready, let me take you back…..
A doormat and a pillow using A Maker’s Studio products!

I made a video “Valentine’s Day Door Mat using A Maker’s Studio products!” In this project I used Rescue and Restore Paint and Adhesive Mesh Stencil in the XOXO!
You can watch the video here.

I also created a super cute pillow using A Maker’s Studio Adhesive Mesh Stencils.
These are the two stencils I used in case you’d like to recreate these projects. I’ll give you some tips below on how to make the projects look fabulous!!! You can purchase the stencils using these links:
XOXO 12 x 24 Adhesive Mesh Stencil – I used this stencil for the door mat.
XOXO 9 x 12 Adhesive Mesh Stencil – I used this stencil for the pillow.

Want some tips on creating amazing products?
It’s super easy?

Yes, Oh Good!
Let’s get started with the tutorial.
Valentine’s Day Pillows using A Maker’s Studio Gel Art Ink and Stencil!
Materials needed:
- A Maker’s Studio Gel Art Ink
- A Maker’s Studio Adhesive Mesh Stencils
- A Maker’s Studio Scraper
- Pillow Cover – I purchase mine at Ikea.

Steps to Creating a “One of a Kind” Valentine’s Day Pillow!
- Iron Pillow Form.
- Place paper or cardboard inside pillow form so the ink does not bleed through.
- Remove stencil from backing and center on fabric.
- Use scraper to apply Gel Art Ink to stencil.
- Remove stencil and wash with soap and water. Dry stencil face up on paper towel.
- Wait 24 hours and heat set stenciled pillow. Heat set using an iron without steam.
- Enjoy and decorate with your pillow.

I hope you’ve enjoyed a little bit more of my Valentine’s Day craft projects. Now go out there are Create Something!
Cynthia


DISCLOSURE
Many of the links on this blog are affiliate links. CreateWithCynthia.com receives a small commission when certain items are purchased, but the price is the same for you. Thank you for your help in upporting my little space on the internet.