Looking for Tips on Using Wax on Painted Furniture? Get ideas to help you decide if wax is right for your furniture makeover project.
This week is all about Furniture Makeovers, Sweet Friends. With all the crazy and bizarre things happening in our world, I needed something to distract myself. Furniture Makeovers are a great way to get distracted. Today, I’m sharing my “Five Tips for Using Wax on Painted Furniture!”
If you are new here, Welcome to Create With Cynthia! I love creating DIY Home Decor projects with a seasonal flair and refurbishing vintage furniture pieces. I hope you’ll subscribe and follow me on Instagram and Facebook. You can also subscribe to my You Tube channel and get notified as I upload videos weekly.
Tips for Using Wax on Painted Furniture!
For this furniture makeover I made a short video. Check out my video on You Tube here.
Furniture Makeovers make me happy and any kind of happiness that can come my way is what I’m looking for these days. #shelterinplaceblues
I won’t deny it, I’ve got a bit of the “Shelter in Place Blues!” I’m doing all the right things to stay positive, but I’m craving normalcy. How are you all feeling? Leave me a comment and say hello. I’d love to support you whether you’ve got the blues or not!
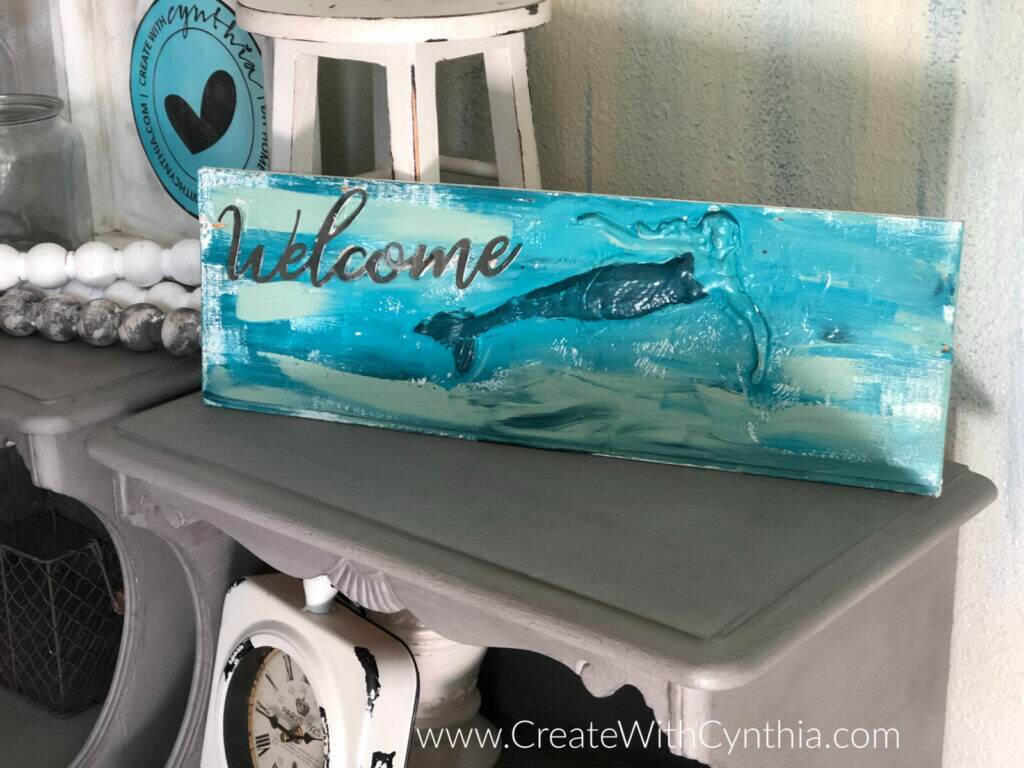
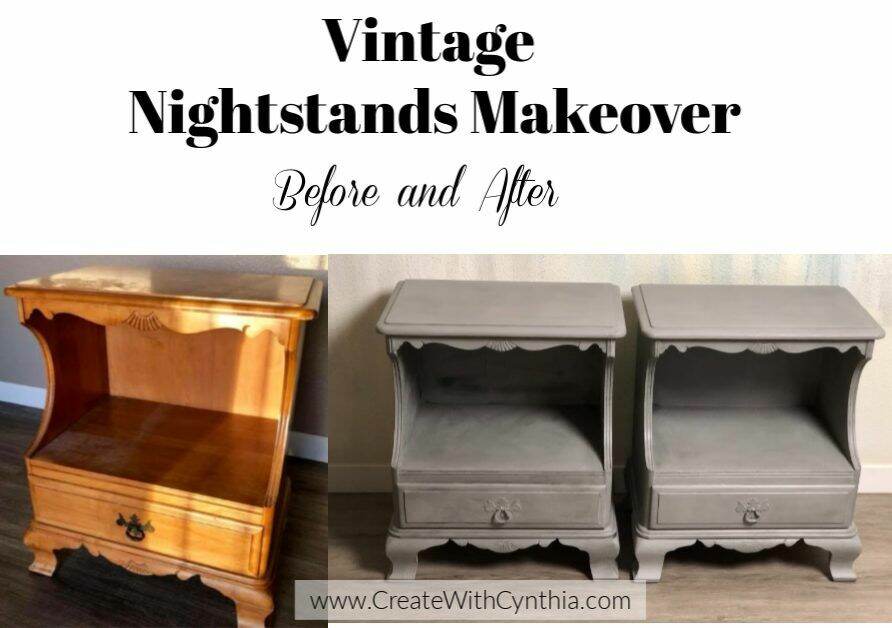
Enough of that blues talk, let’s get into this furniture makeover talk. Tuesday was all about an Old Sewing Cabinet that I turned into a desk and today is all about two Vintage Nightstands that I painted. It’s always a toss up…..Wax or a Top Coat? Of course, you can even chose an Oil Wax or a Bees Wax or a Glaze. For this project I chose wax and the results were amazing.
On the Sewing Cabinet I used a Top Coat/Sealer. On these nightstands I am using Wax. I get the same question all the time, “How do you chose between using Wax or a Sealer?” I wrote about this last year in “Wax or Sealer for Chalk Paint.”
Basically, the answer to the question is, “What look are you going for?” Whether you use Wax or a Sealer the final result will be different. It’s really just about preference.
Tips for Using Wax on Painted Furniture!
Here are Five Tips when Using Wax on Painted Furniture.
These tips on using wax on painted furniture won’t necessarily help you make the decision about Wax or a Sealer, but it will guide you if you chose wax.

Tip #1: Applying Wax will change the color of the paint. When you apply a Wax or a Sealer to a painted piece of furniture it changes the color. You can see in the photo below how the color changed. It’s not a bad thing, it’s just something to keep in mind. The lighter colored nightstand does not have wax.
Tip #2: Invest in a good Wax Brush: I have found that if I use the correct brush on the project, I will get a better outcome.
Tip #3: Wipe on and Wipe off. When applying wax, you want to apply a layer of wax and then wipe it off. You are really not wiping the wax off you are just working it into the piece.
Tip #4: Two to three coats of wax is best. One coat of Wax (or Sealer for that matter) is just not enough. The more wax you apply in layers the better durability your piece will have.
Tip #5: Always start with clear wax, if you are using colored waxes. These days, you can find white wax, dark wax, black wax and even colored waxes. You can make your own colored wax by adding a pinch of paint color to your wax. Nonetheless starting with clear wax will allow you to manipulate the colored wax to your liking.
Using wax on painted furniture is a topic that I like to discuss. You can check out some of my other posts “Flipping Furniture Makeover on Barstools” and “Easy to Make Floral Serving Tray.” I hope these tips assist you in your furniture makeover. Don’t forget to follow the links below for all of your paint and paint product needs.
Now go out there and Create Something.
Cynthia
Disclosure: Many of the links on this blog are affiliate links. CreateWithCynthia.com receives a small commission when certain items are purchased, but the price is the same for you. Thank you for your help in supporting my little space on the internet. CreateWithCynthia.com is a participant in the Amazon Services LLC Associates Program, an affiliate advertising program designed to provide a means for sites to earn advertising fees by advertising and linking to amazon.com.