Hey there Sweet Friends., today, I am showing off my newest creation, a Spindle Leg Tree and a tutorial on how to create one for your own home. I hope you try and recreate it and if you do, tag me on Instagram and Facebook. I’d love to see your finished projects.
If you’d like to follow me on Facebook go here. If you’d like to follow me on Instagram go here. I’ve been working so hard on growing both of these channels. So, please follow me and remember sharing is caring!
I had the tree displayed all over the house throughout the holidays. It was in the entryway and the hallway and even in the dining room.
Every time I see it, the tree just makes me happy. Christmas trees, kinda like spindles, and old doorknobs and shutters and nutcrackers, they kinda do that to me. They just make me happy!

But then, I found a home for it. The Spindle Tree has a new home in my bathroom.
I think it looks perfect with the Old Ladder Bathroom Storage and the Cabinet Makeover with Peel and Stick Wallpaper.
What do you think, Sweet Friends?
This project was really fun and not too difficult to make. So, let’s get started with the tutorial.
Materials needed to make the Spindle Leg Tree:
- Spindles in a variety of lengths
- Piece of wood the length of your tree – wood strip
- Screws
- Wood Glue
- Paint
- Paint Brush
- Jigsaw
- Drill
- Picture hanger
Instructions for making a Spindle Leg Tree:
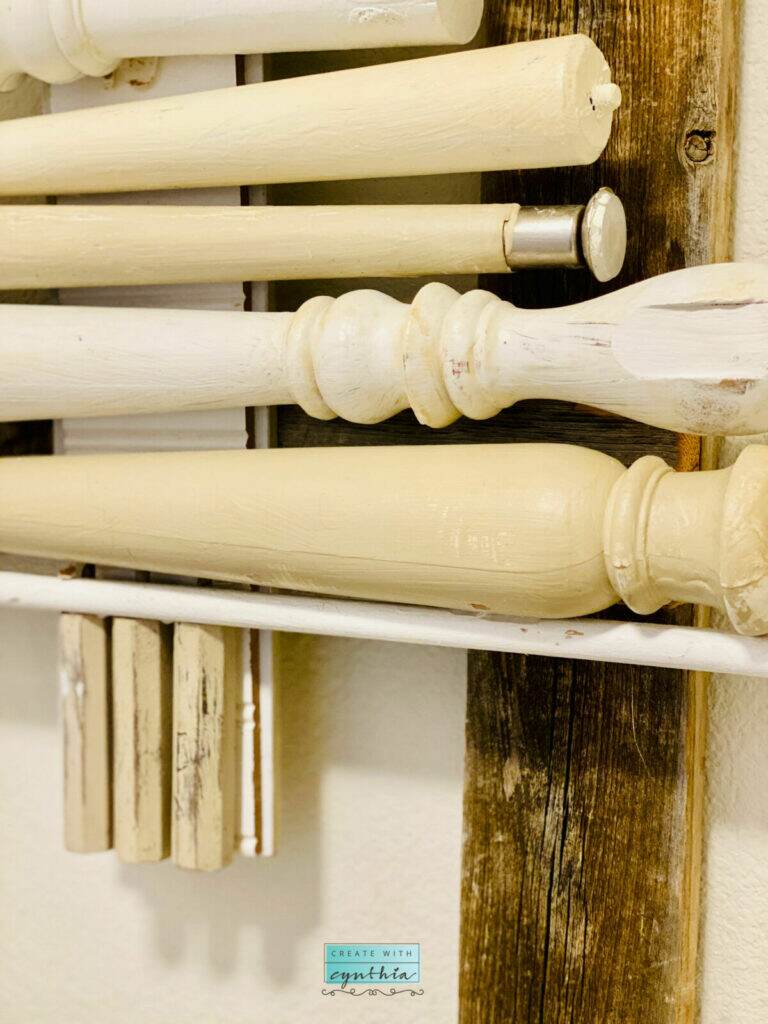
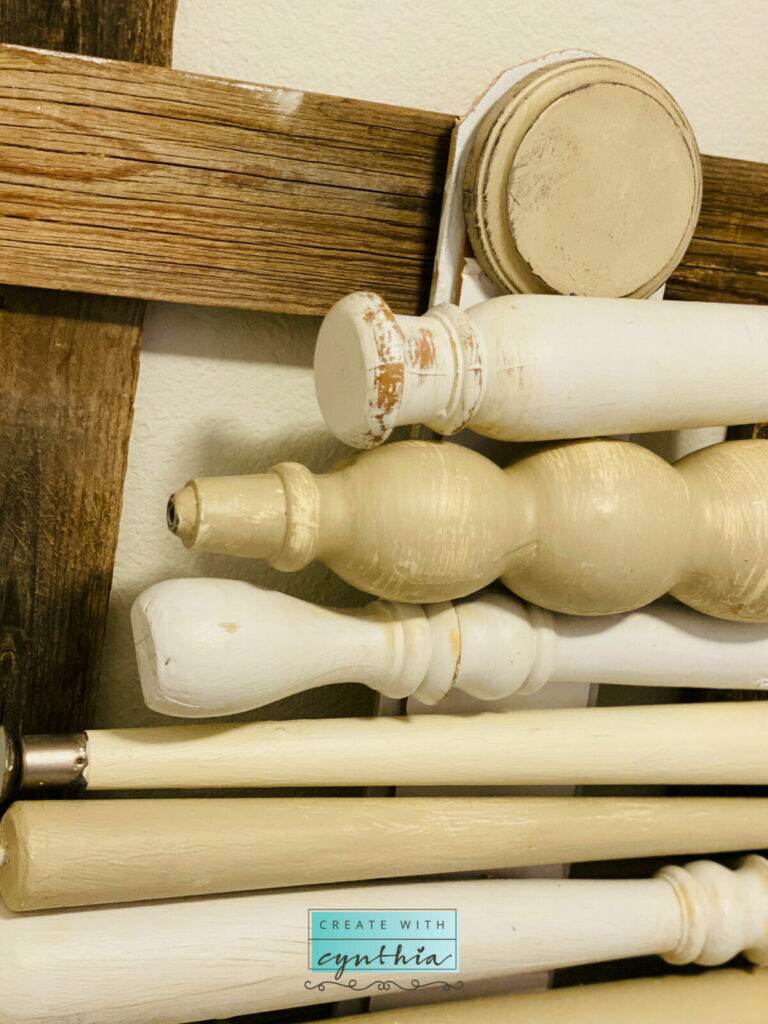
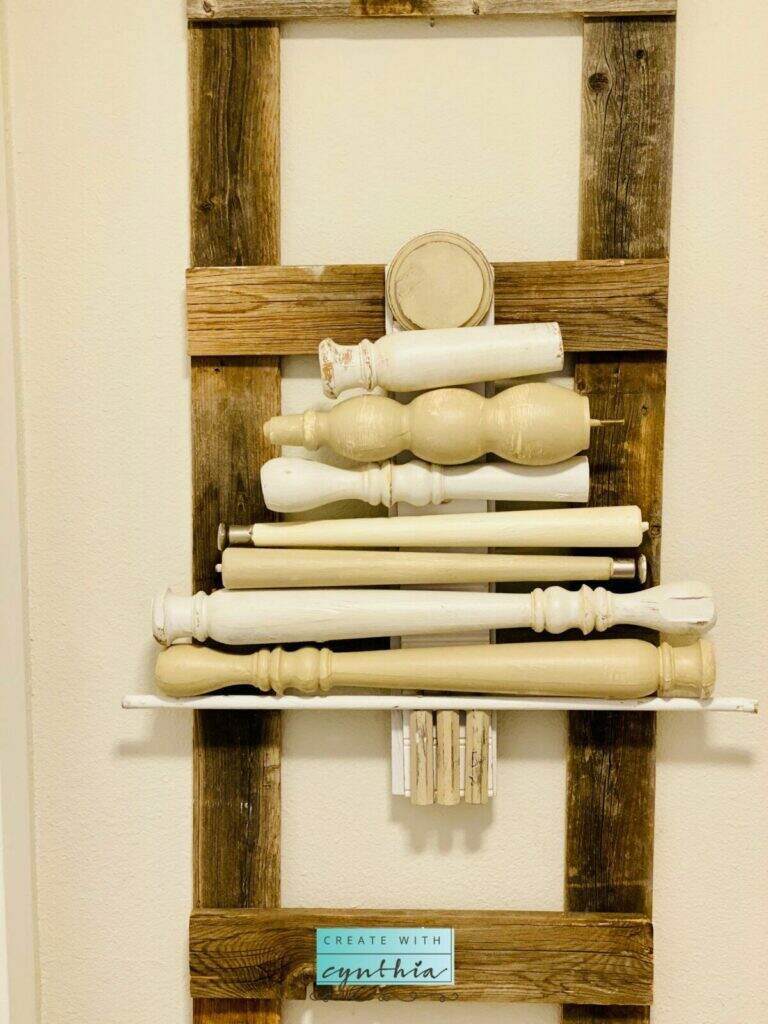
Step one: Gather your spindle legs and wood strip. I used 8 long spindle legs and three short spindle legs for the tree trunk. I used a circle wood piece for the top. I also used a 2 foot piece of wood to attach the spindles onto something.
Step two: Paint all of your pieces. I used Debi’s Design Diary DIY Paint and Rustoleum Chalked Paint in a couple of neutral colors. I sealed the spindles with Sweet Pickins Top Coat.
Step three: Just like a puzzle put the pieces together.
Step four: Use wood glue to hold pieces in place. I used Gorilla Glue.
Step five: Once glue has dried, use a drill and screws to secure your tree together. Spindles are heavy so this part cannot be skipped. The glue holds the spindles in place so that you can pre-drill the holes before adding the screws.
Step six: Add your hanger to the back of the tree.
Step seven: Hang your tree on the wall and enjoy.
Now go out there and Create Something!
Cynthia