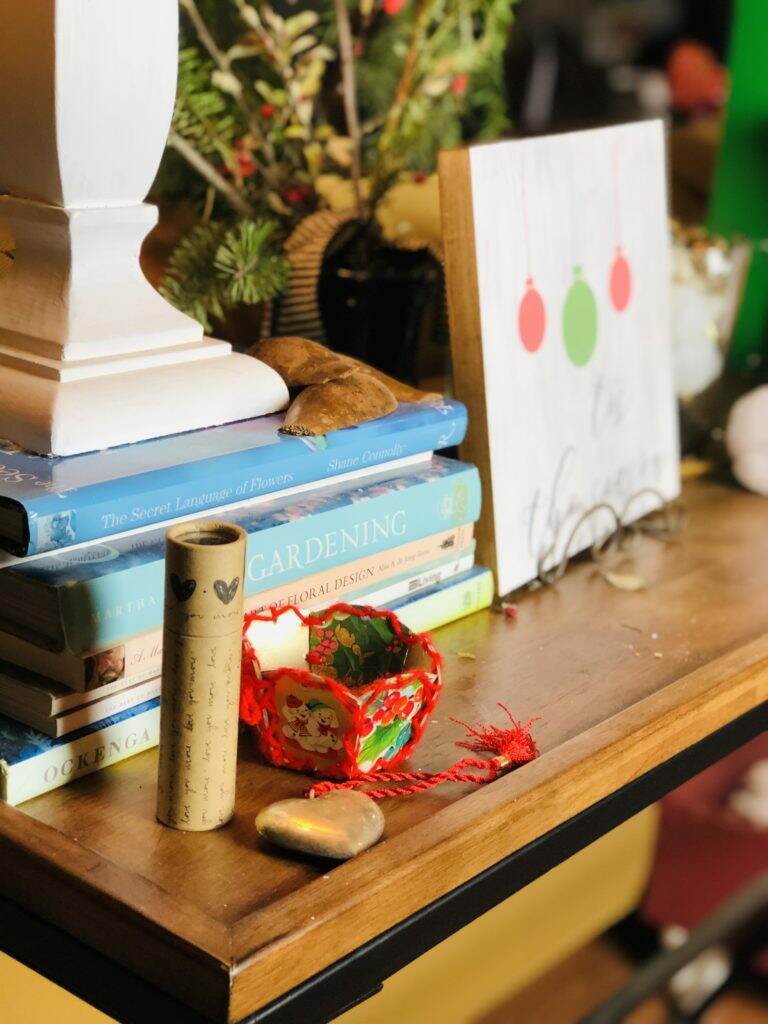
Hey there, Sweet Friends, today on the blog I am going to show you what I am doing with my Chalk Art Subscription. Wood signs are all the rage these days! Don’t you agree?

Chalk Art Subscription from A Maker’s Studio!
If you read along earlier this week, you’ll know that for this year I gifted myself with A Maker’s Studio Chalk Art Subscription. If you missed the post, click here.

Today, I am going to show you how you can make a Wood Sign with the Chalk Art Subscription. You can watch the video here.
Here is what you need for this DIY Wood Sign:

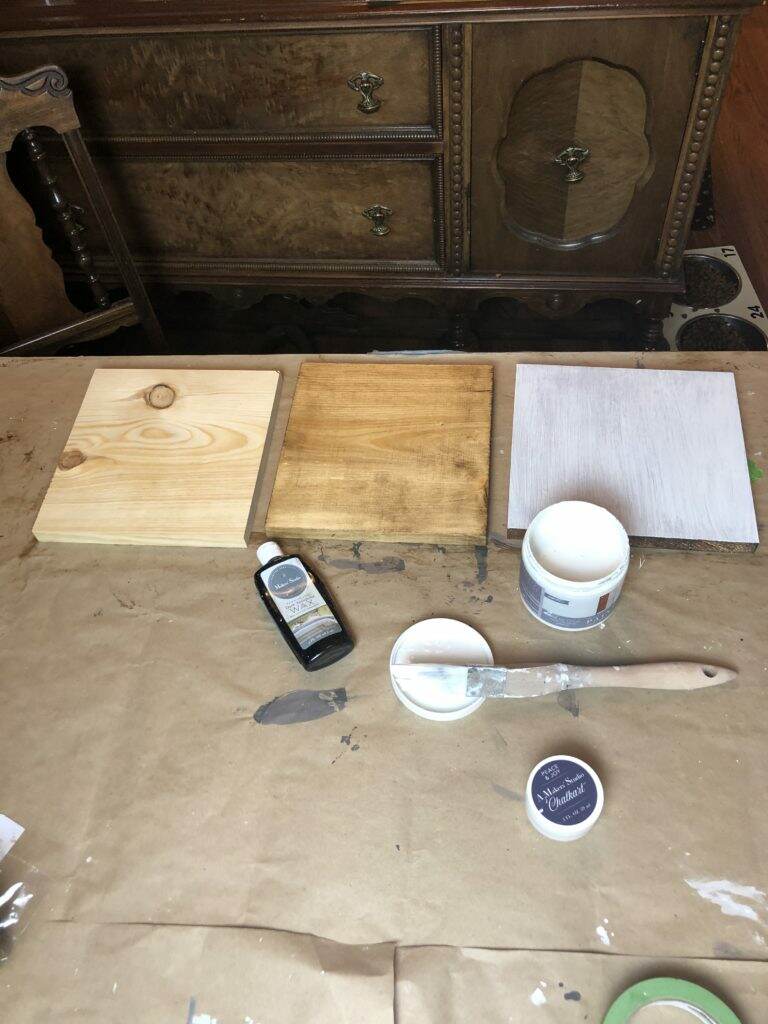
The first step is to stain your wood, once dry, paint it with two coats. I used the following products:
A Maker’s Studio Dark Antiquing Wax
A Maker’s Studio Rescue and Restore paint in the color Blessed
Once you let the paint dry, adhere the adhesive stencil to the right spot on your board and spread chalk art over the stencil.
Remove stencil and seal board with a sealer. I used A Maker’s Studio Matte Sealer. You can purchase the Sealer here. I’d suggest keeping a jar on hand for all types of diy projects in your home.

If you haven’t gifted yourself this year and you love crafts, consider purchasing the Chalk Art Subscription. You can click the link here to purchase the Chalk Art Subscription.
Have a wonderful holiday season.

