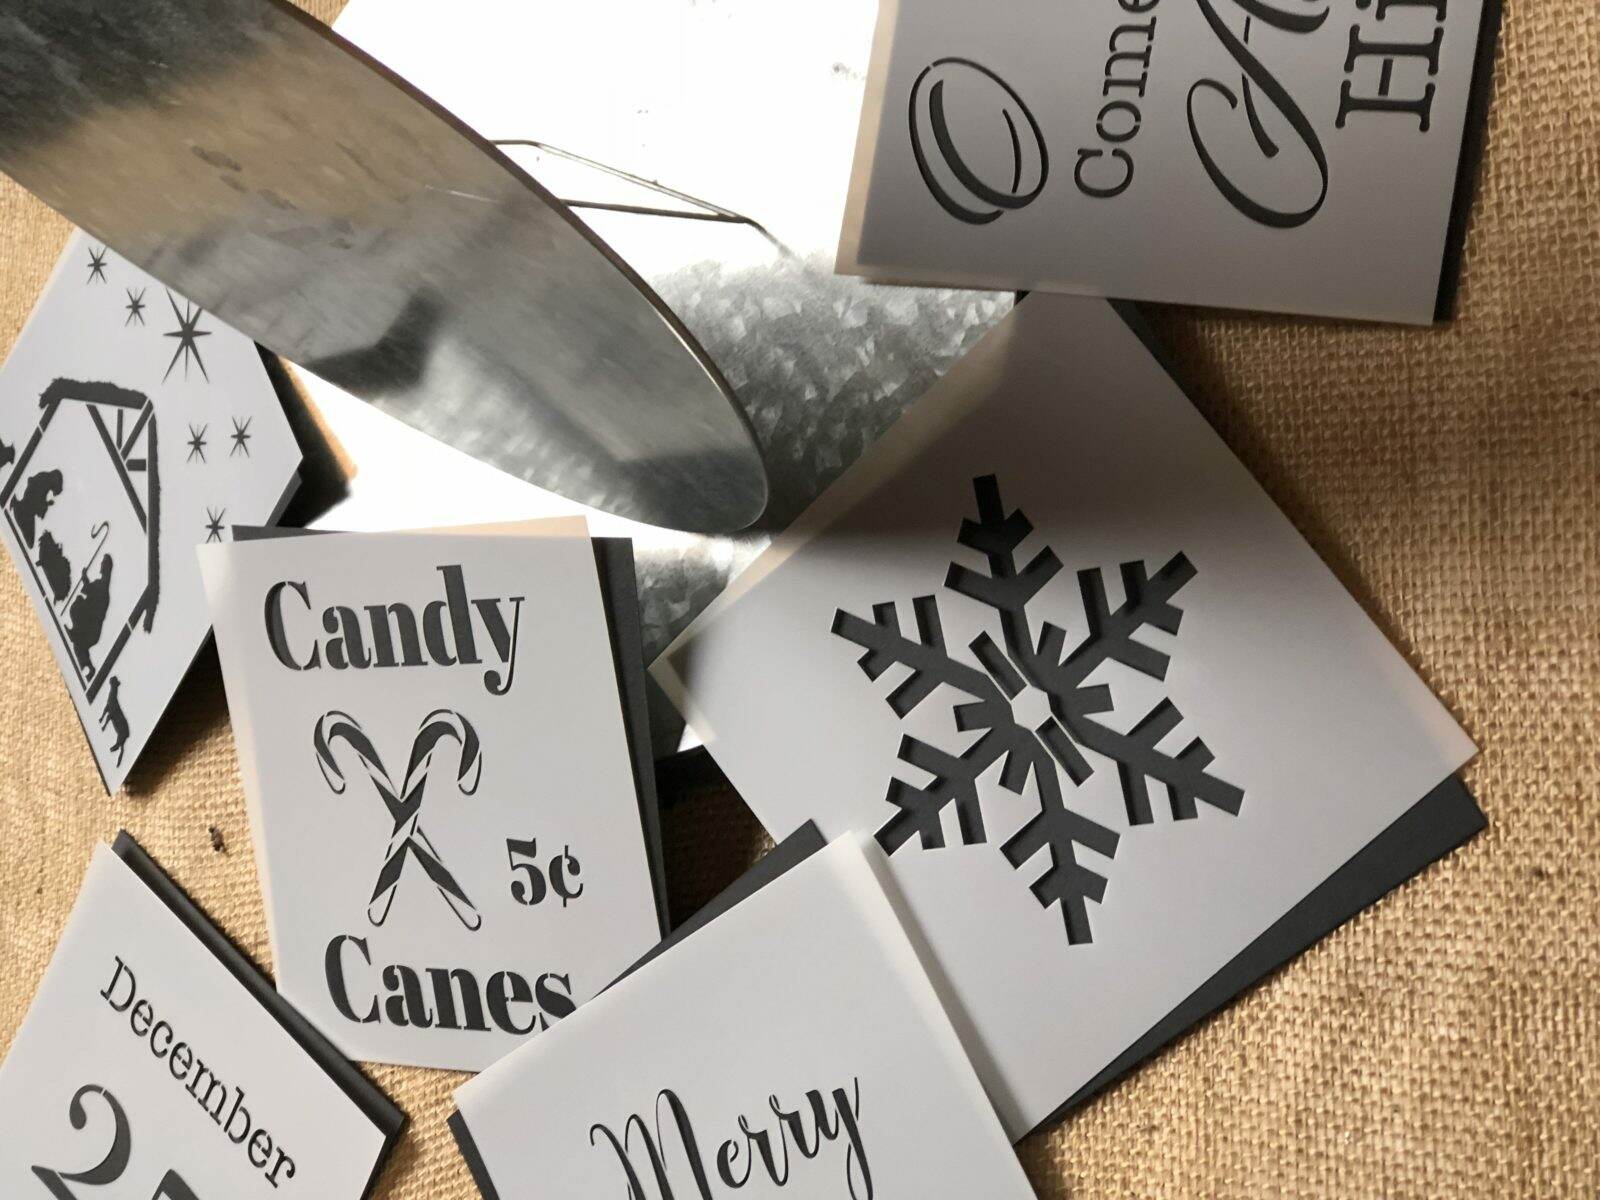
Hey there, Sweet Friends, today on the blog, I am here to show you how to make cute holiday signs with Essential Stencils.

Essential Stencils are reusable.
Reusable stencils and wood or metal from the Arts and Craft Store make perfect holiday gifts.
Holiday time is great for stenciling.
As a Brand Ambassador of Essential Stencils, I receive free stencils each season and in exchange I write or video about the product. Click here to go shopping.
If you purchase the Essential Stencils through my website I will receive a small commission and be forever grateful.
Essential Stencils have super cute designs and are reusable. They clean up easily with soap and water.
Essential Stencils work best, in my opinion, with A Maker’s Studio Chalk Art. Any kind of paint can be used with Essential Stencils, but if you use too much paint you will have leakage and a sloppy sign. I find that if you use A Maker’s Studio Chalk Art you avoid leakage. and a sloppy sign.
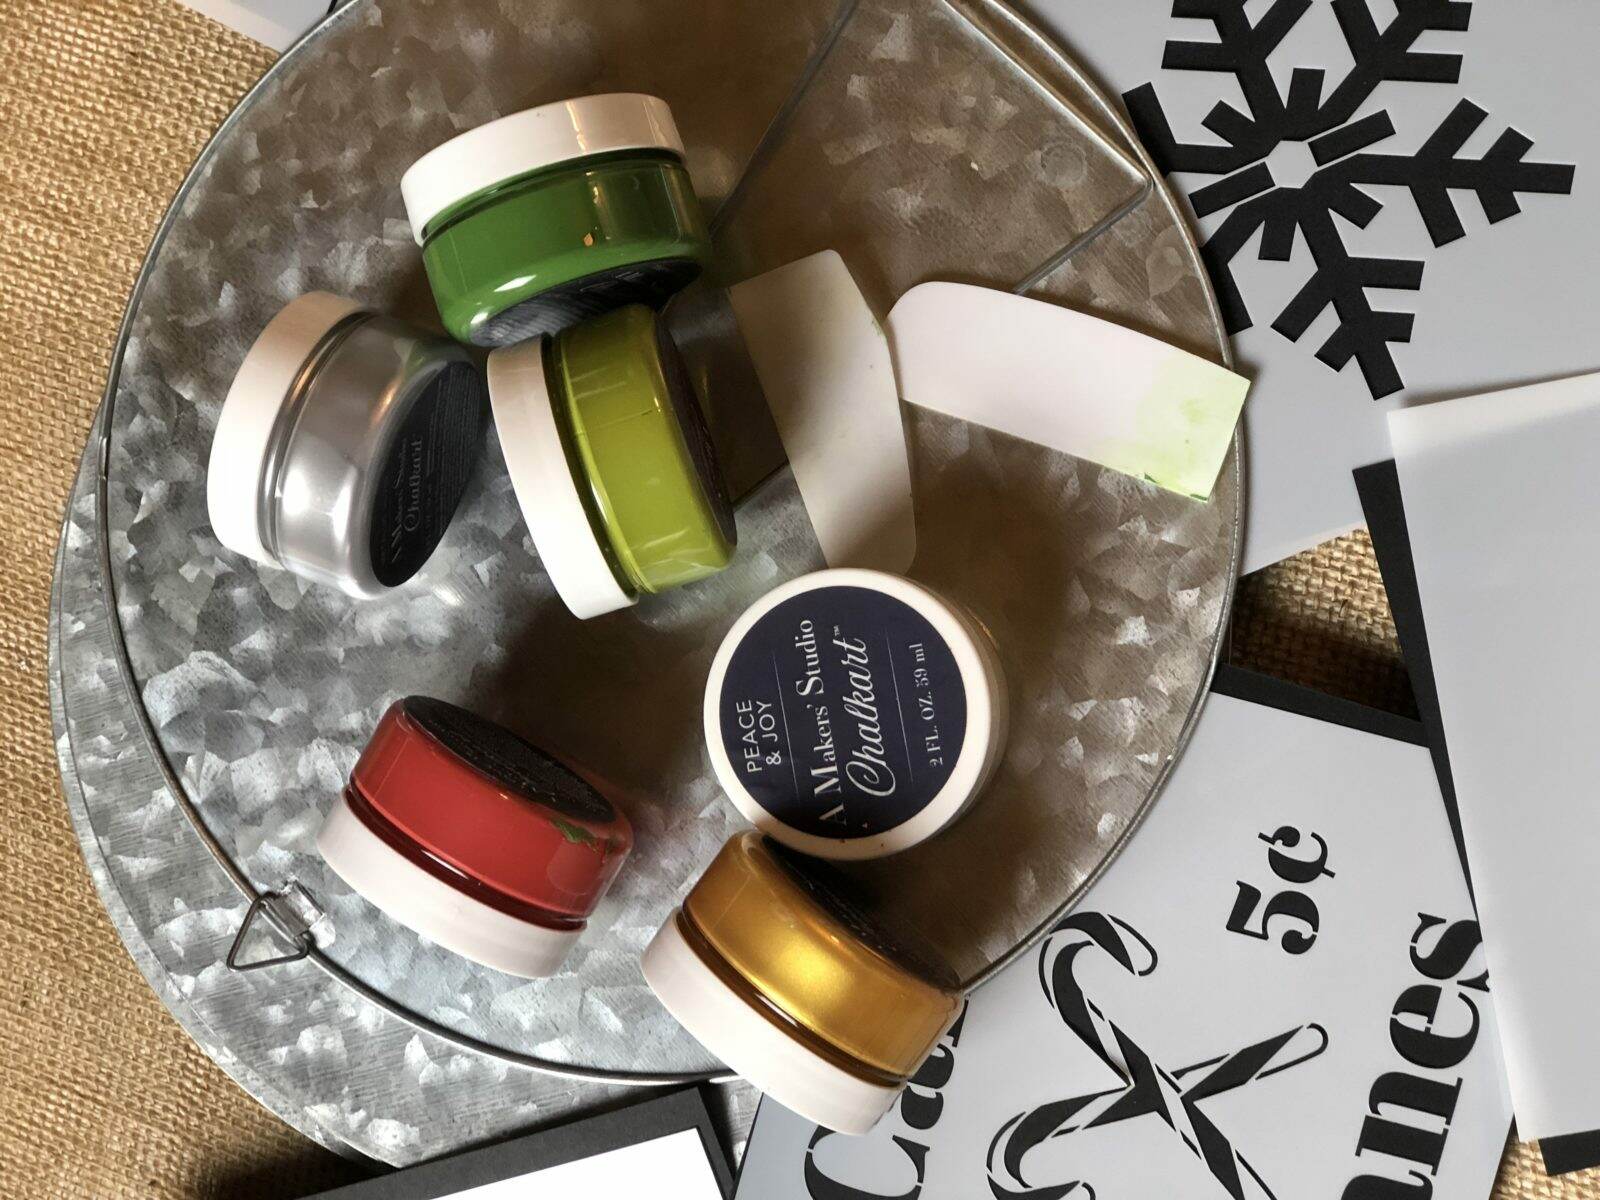
As you know, I am a Maker Boss for A Maker’s Studio and use their products every chance I get. If you’d like to read about the Launch of A Maker’s Studio, click here.
Once I received my Essential Stencils in the mail, I ran over to my local Michael’s Arts and Crafts and purchased these metal surfaces (with my 20% off coupon). A 6 pack of metal surfaces was $15.00 and with the coupon it was a darn good deal. These metal surfaces can be hung on the wall or stand on a table. I plan to decorate my christmas tree with the signs, and give some as gifts.
Here are the Five Steps to creating the perfect stenciled sign.
- The first step to creating a stencil sign is to tape the stencil to the surface.
- The second step is to apply the A Maker’s Studio Chalk Art on the stencil attached to the surface. Using a Scrapper or your finger works best.
- The third step is to carefully remove the stencil from the surface.
- The fourth step is to seal the Chalk Art and I prefer to use A Maker’s Studio Matte Sealer.
- The fifth step is to wash your stencil with soap and water so that it can be reused.
These signs are great gift ideas and I will be selling them at my space in Redwood City.

I will also be selling these signs at the IHM Holiday Boutique in Belmont, California on Friday, Saturday and Sunday, November 16th, 17th and 18th. You can learn more about the boutique on my website under the events page.
I hope you’ll stop by my booth for some holiday shopping and if you mention this post you’ll receive a free gift.
If you’d like to watch my video on the Holiday Signs with Essential Stencils, check out my You Tube channel under Cynthia Nessel here.
Make it a great day, Sweet Friends!