Hey there, Sweet Friends, do you believe in Santa? I remember when I was a little girl I loved believing in Santa. Today I’m showing how I made a Front Door Holiday Sign inspired by Santa.
I love junk and I love using and re-using. For this Front Door Holiday Sign I was inspired to repurpose an old sign into something new for the holidays.
Front Door Holiday Sign DIY!
As with every child, as I got older I started to question if Santa was real.
Did you stop believing in Santa?
My Mom always said, “if you don’t believe, then you won’t receive and Santa won’t come.”
It’s a tradition, I’ve passed on to my boys. The thought of no gifts is enough to make anyone believe in Santa.
Wood Sign DIY using Essential Stencils!
My front entrance is not grand, it’s really not. Although, every entrance needs to look glorious!
I wanted my front entrance to look grand and glorious and so for this year, I decided to create a sign with the word, Believe!
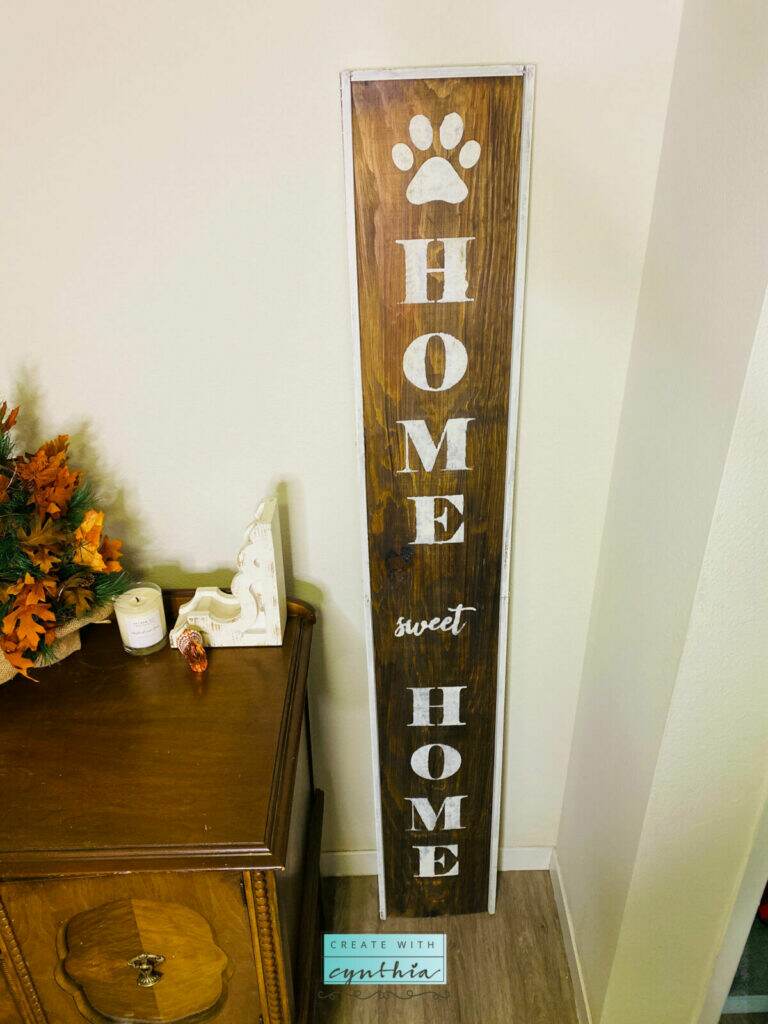
I’ve been using this super cute “Home Sweet Home” sign in my hallway and decided to repurpose it into a Christmas Sign. I just turned it over and created a second sign on it’s back. It saves on storage and money!
If you’d like to watch how I created the “Home Sweet Home Sign” it’s on You Tube on the Create With Cynthia channel. You can pop on over to You Tube, but don’t forget to subscribe to my channel. You can watch it here, as well.

Holiday Sign!
Now let me show you how to make a glorious and grand Front Door Holiday Sign, a “Believe” wood sign!
Materials needed for the Front Door Holiday Sign:
- Wood board – mine is a 5 foot pine board originally painted with DIY Paint in Dark and Decrepit.
- Paint – I used DIY Paint in Little Black Dress and White Swan.
- Top Coat – I used Rustoleum 2X Ultra Cover Gloss Clear
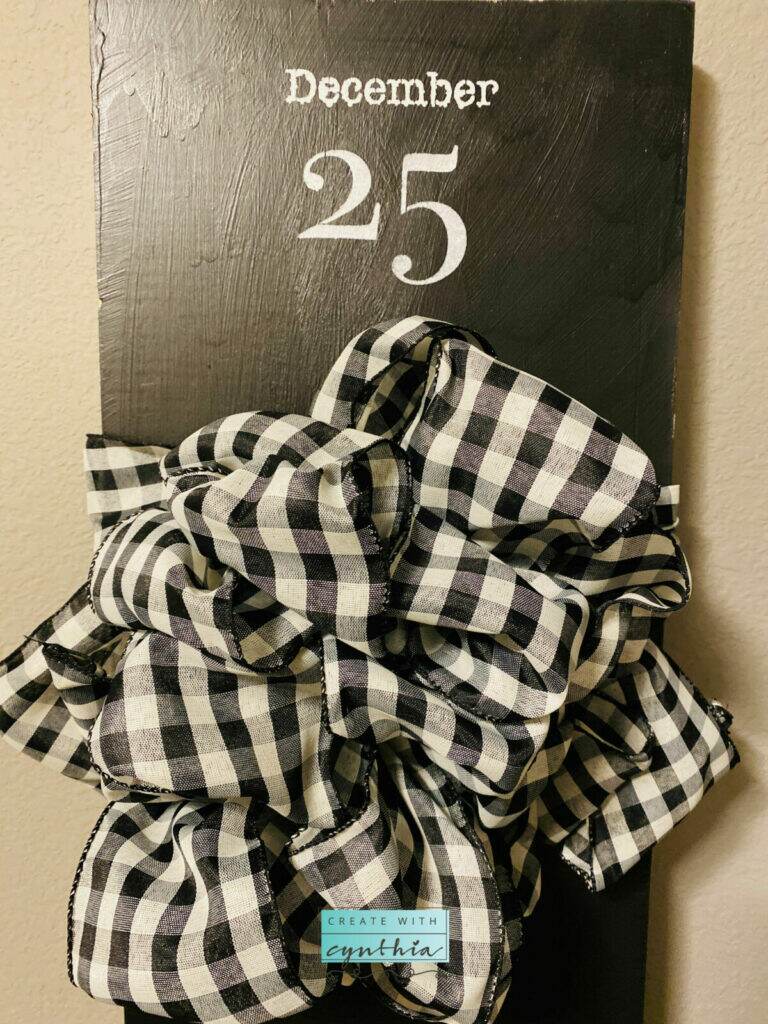
- Believe Stencil – I used Essential Stencils and I added the December 25th Stencil as well.
- Stencil Brushes
- Paint Brushes
- Ribbon or Bow- I chose a black and white checkerboard ribbon.

Instructions for the Front Door Holiday Sign:
- Take your sign and turn it over.
- Use a paintbrush and paint the wood. Originally my wood was painted in DIY Paint Dark and Decrepit. I painted it in DIY Paint Little Black Dress. Allow paint to dry.
- Add a top coat. I used Rustoleum 2x Ultra Cover Gloss Clear. I had the can on hand.
- Take stencil and use frog tape to adhere stencil to sign.
- Use stencil brush and stencil the sign with the stencil adhered. When stenciling use a very small amount of paint on your brush. Pounce brush up and down onto sign. Let paint dry.
- Remove stencil and wash with soap and water.
- Add a final top coat. I used Rustoleum 2x Ultra Cover Gloss Clear. I had the can on hand. Let top coat dry.
- Add ribbon or bow, of your liking, to your sign.
- Enjoy your sign.
Here are the photo steps: