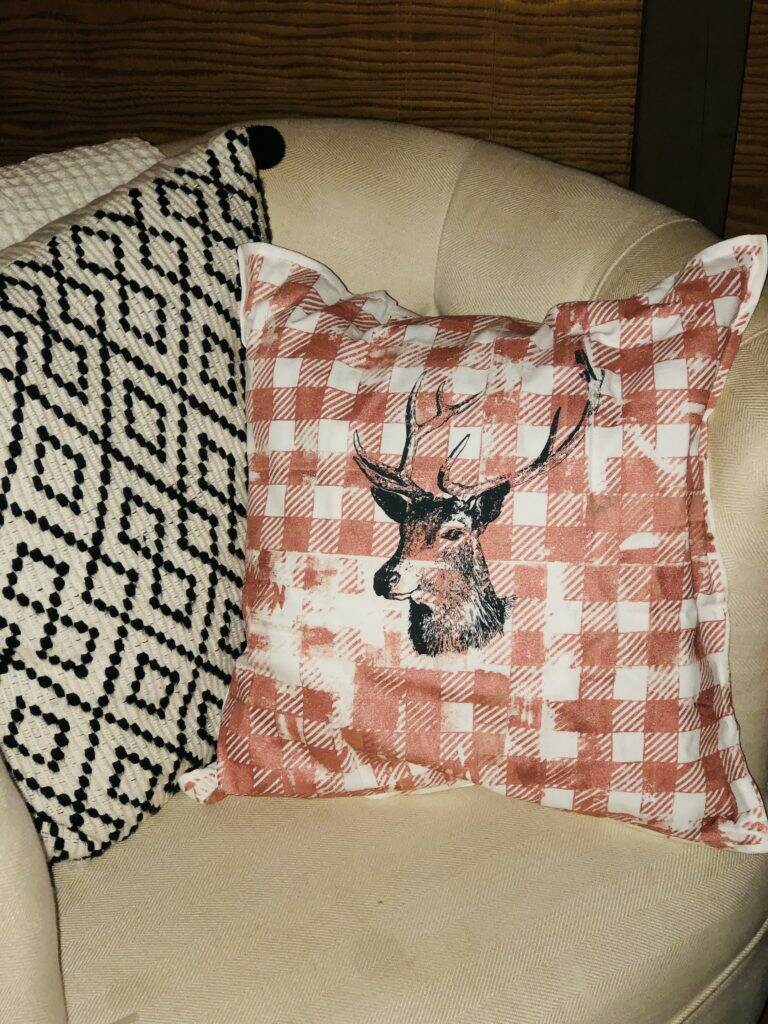
Hey there Sweet Friends, today on the blog I am going to show you how I made this Super Cute and Super Easy Reindeer Pillow.

Reindeer Pillow that is super easy to make.
DIY Reindeer Pillow with copper accents was a must have once I started copper gilding the ornaments for my tree. You can read about that here.

Reindeer Pillow with Copper Accents.
“All Things Copper” was my Christmas Theme for my bedroom this year. It’s actually the first year I put a Christmas tree in my bedroom. I really didn’t have any idea what I wanted but when I pulled the tree out of the box and noticed it had colored lights I was thrown off a little. My choice is usually white lights and I kind of was hoping to have a white snowed tree so I went to work thinking about how to decorate. My bedroom is mostly white with some wood pieces. I got excited about decorating with copper and made some ornaments and then tried to mimic that same look with the holiday pillow. I used lots of white accents on the tree, like ribbon on the bulbs and ribbon hanging from the tree.

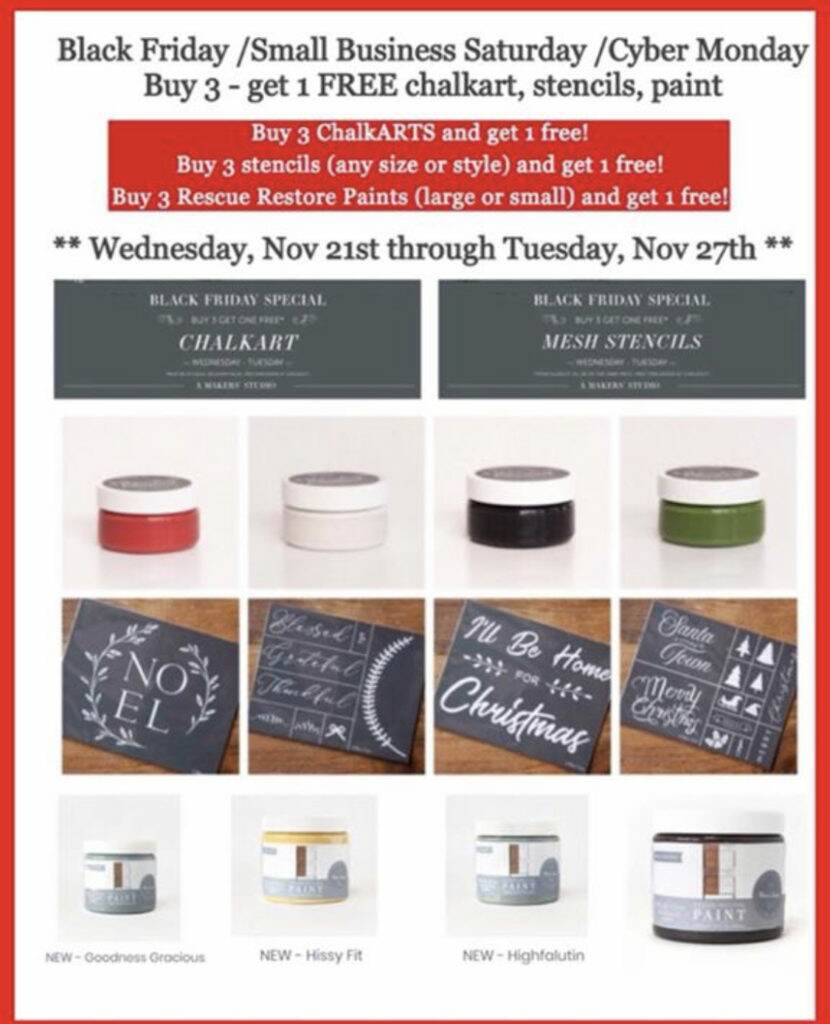
If your still looking for Black Friday sales, check out what A Maker’s Studio above has to offer. Order online here.
I’m sure I’ll find more things to copper but today I want to show you how I made the pillow. Let’s get started.

What you need to make a DIY Reindeer Pillow:
- Pillow Sleeve. I chose the Ikea Gurly 20 x 20, but any pillow sleeve will work.
- A Maker’s Studio Chalk Art or Gel Art Ink, found here.
- A Maker’s Studio Mesh Stencil in Deer Head and Gingham.

A couple tips before getting started:
- Iron the pillow sleeve.
- Place a brown paper inside the pillow sleeve.
- Be sure to iron your finished product as this will allow the paint to set into the fabric.
- Use the Gingham Stencil first and try a darker color for the Deer Head Stencil.
If you haven’t seen my YouTube video on how to make a reindeer pillow check it out here. You might even get to meet Sofy, my King Charles Cavalier.

Have a Happy Monday, Sweet Friends! Cynthia


