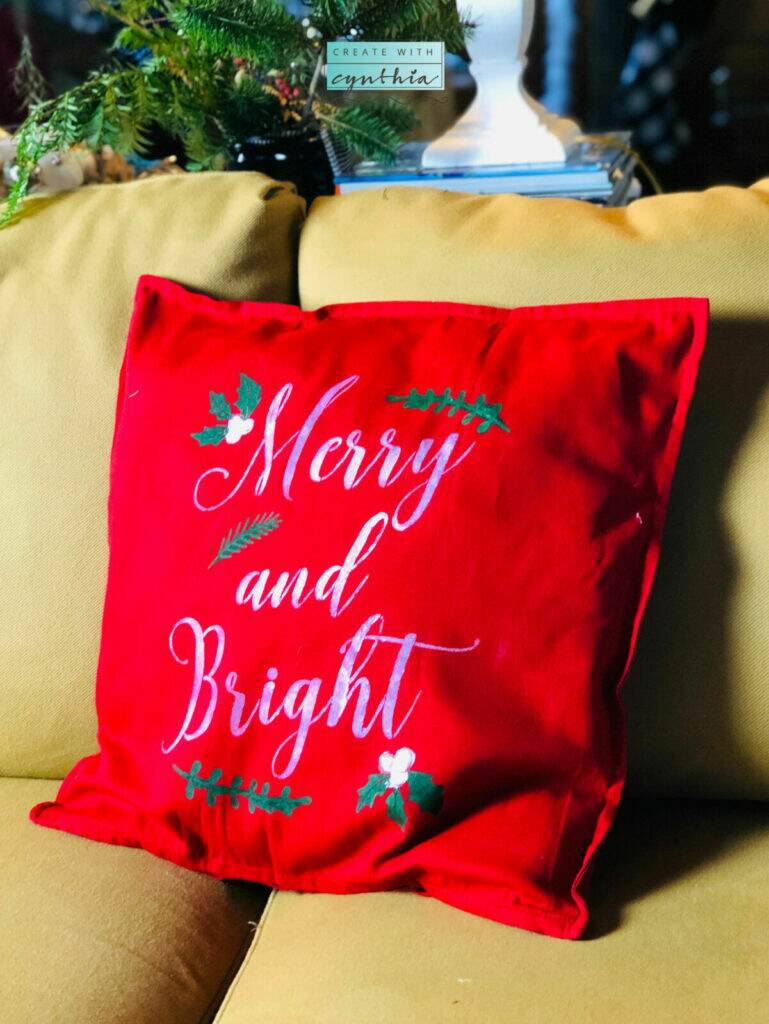
It’s almost December and it’s time (if you haven’t already) to start thinking about your December decorations. Sweet Friends, today, I am sharing a Holiday Pillow that is super easy and fun to make. Just in case you need another pillow to add to your holiday decor.

Stenciled Holiday Pillow!
This pillow would look so cute on your sofa or in one of your bedrooms. It exudes that the holidays are upon us and is so easy to make. I took a pillow cover and a stencil and used fabric ink to create a fun holiday design. You can do it too.

Do-it-Yourself Holiday Pillow!
These are the materials needed in order to make the pillow:
- 20×20 Pillow Cover – I got mine from Ikea here, but you can also purchase a 18×18 Pillow Cover from Kohl’s here.
- 20×20 Pillow Form – I got mine from Ikea here but you can also purchase a 18×18 Pillow Form from Kohl’s here.
- Essential Stencils Christmas Sign Stencils – use code CWC at checkout for a discount.
- A Maker’s Studio Gel Art Ink – I used white and green for the red pillow. Gel Art Ink comes in 13 colors. You can use other types of paint as well.
- Chalk Art Spreader or Foam Dome Brush – if your budget is tight you can use alternative brushes, but with the Gel Art Ink these brushes are recommended.
- Frog Tape – I purchased mine at Walmart here.
- Iron – I purchased mine at Kohl’s here.

These are the instructions on how to make the holiday pillow.
- Iron Pillow Cover. I like to wash my pillow cover first. I have pups so I usually wash my pillow covers, but if you’d don’t plan to wash the pillow cover that is fine too.
- Place a paper bag or paper towel inside of the pillow cover so the paint does not leak to the opposite side.
- Place Stencil on pillow cover.
- Use Frog Tape to adhere stencil to pillow cover
- Place a small amount of a A Maker’s Studio Gel Art Ink onto a paper plate or tupperware dish or directly onto the spreader.
- Use foam brush or spreader to apply paint to pillow form.
- Remove Stencil from pillow cover and allow ink to dry.
- Place towel over pillow cover and use iron to heat set ink into fabric. Do not use the steam function on the iron. Hold iron in place approximately 2-5 minutes.
- Insert pillow form into cover and enjoy your Holiday Pillow.
- When washing your holiday pillow, turn the cover inside out and use cold water. Do not place in the dryer.
Here are step by step photos.


This DIY Holiday Pillow is on You Tube on the Create With Cynthia Channel. I made the video last year! I hope you enjoy. Please subscribe and hit the notifications button. You can watch the video here.

I hope you’ll try the Holiday Pillow and share with me how it turned out. Follow me on Facebook or Instagram and tag me on your project. Any of the colors can be used to create your own “One of a Kind” DIY Holiday Pillow. Then, enjoy the Bragging Rights. Don’t forget to shop at Essential Stencils and used code “CWC” for a discount at the checkout.
Now go out there and create something.
Cynthia


