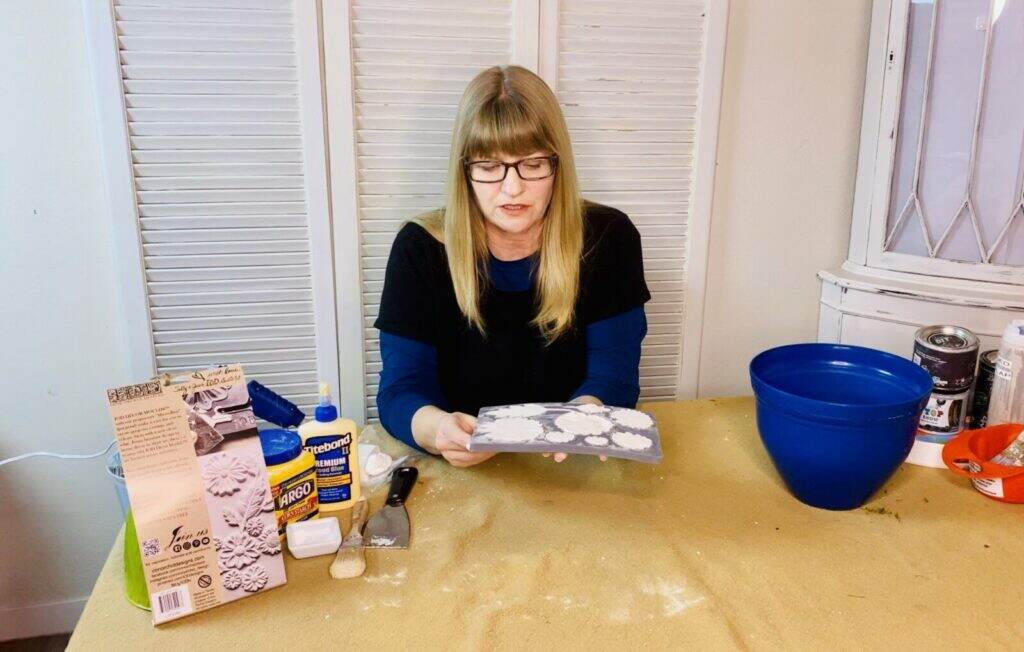
Looking for ways to use clay and moulds on your Easter Eggs? DIY Easter Eggs with Clay and Moulds is super simple with these tips and tricks.
I’ve got you covered in the Easter Egg Department, Sweet Friends. It’s time to start decorating for Easter and this DIY tutorial is just for you.
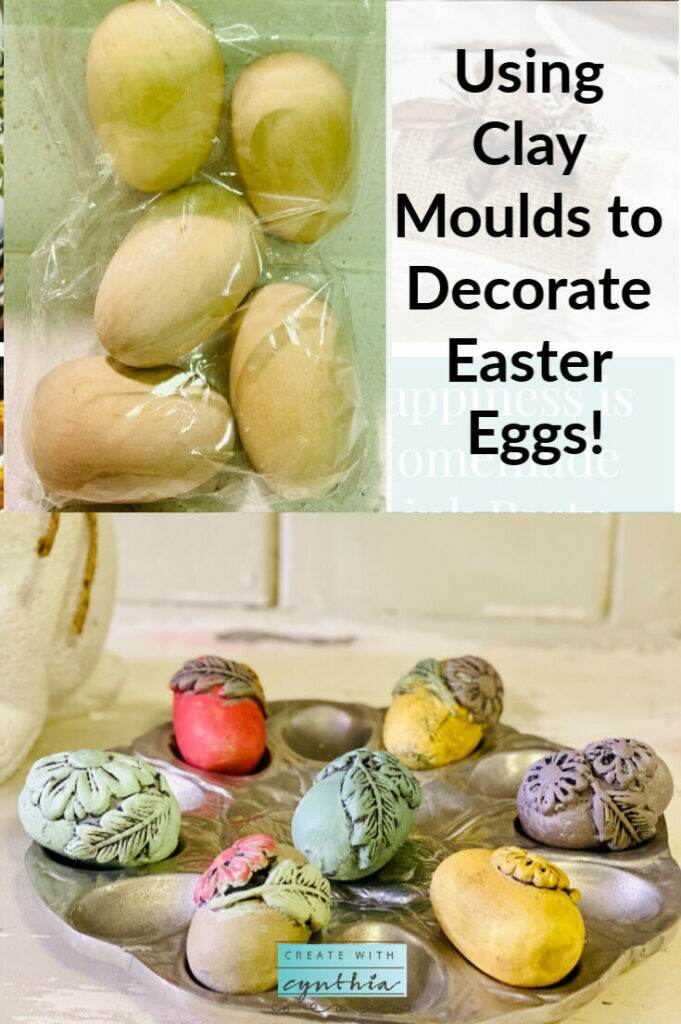
DIY Easter Eggs with Clay and Moulds!
I don’t know about you, but nowadays I just don’t prefer to dye Easter Eggs. Nowadays, I prefer to use other types of crafting mediums for my eggs. The sky is really the limit. I’ve used paint and clay and even modge podge and fabric and ribbon. For today, we are using Iron Orchid Designs Air Dry Clay and Decor Moulds. DIY Easter Eggs with Clay and Moulds!
If you’d like to purchase any of these items just click on the word and it will take you to the Create With Cynthia Shop.
Your purchases help support the blog and I am grateful to you for that.
Iron Orchid Designs Clay and Moulds!
Iron Orchid Designs has some incredible products and I love working with the Air Dry Clay and Decor Moulds. The clay is super easy to use and it dries over night. The moulds clean up well and can be used over and over again.
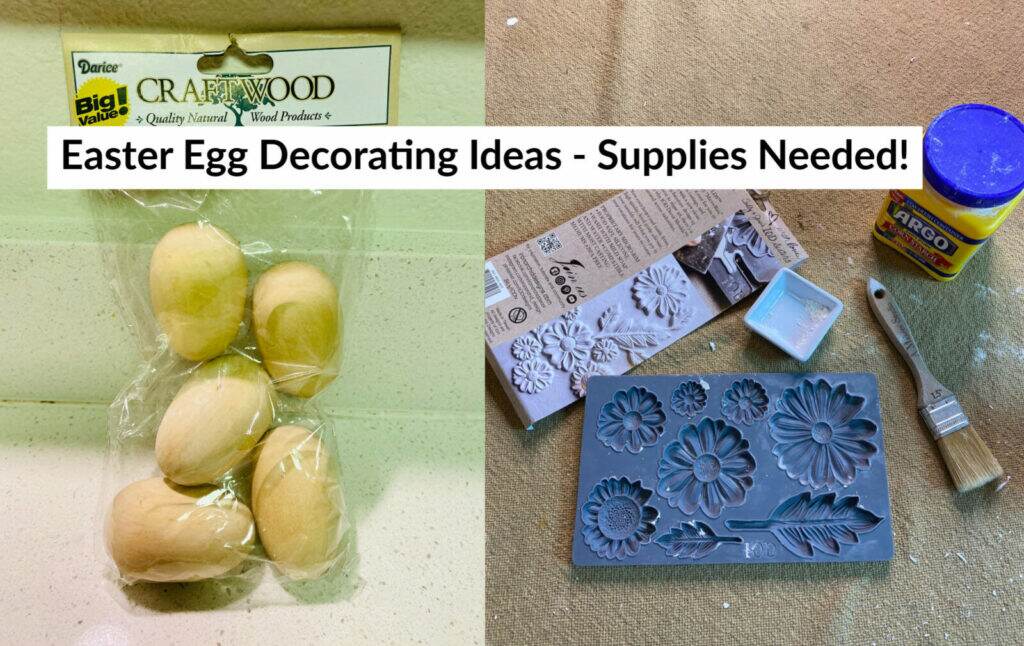
Materials needed for the Easter Egg with Clay and Moulds:
- Air Dry Clay
- Decor Moulds
- DIY Paint
- Wooden Eggs
- Putty Knife
- Wooden Trough
- Easter Basket
- Egg Plate
- Egg Cups
- Hot Glue Gun
Instructions on How to Create Easter Eggs with Clay and Moulds.
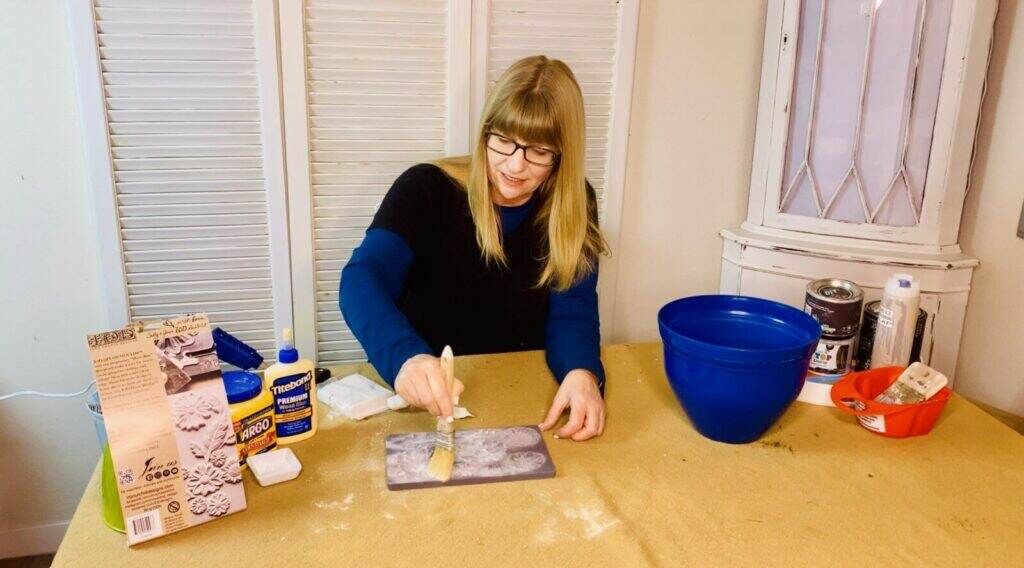
Step one: After you have gathered your supplies, start by seasoning your mould with Corn Starch. Use an old paint brush and spread corn starch inside the mould. Shake out any excess.
Step two: Use your scraper to cut a piece of clay from the chunk of Air Dry Clay.
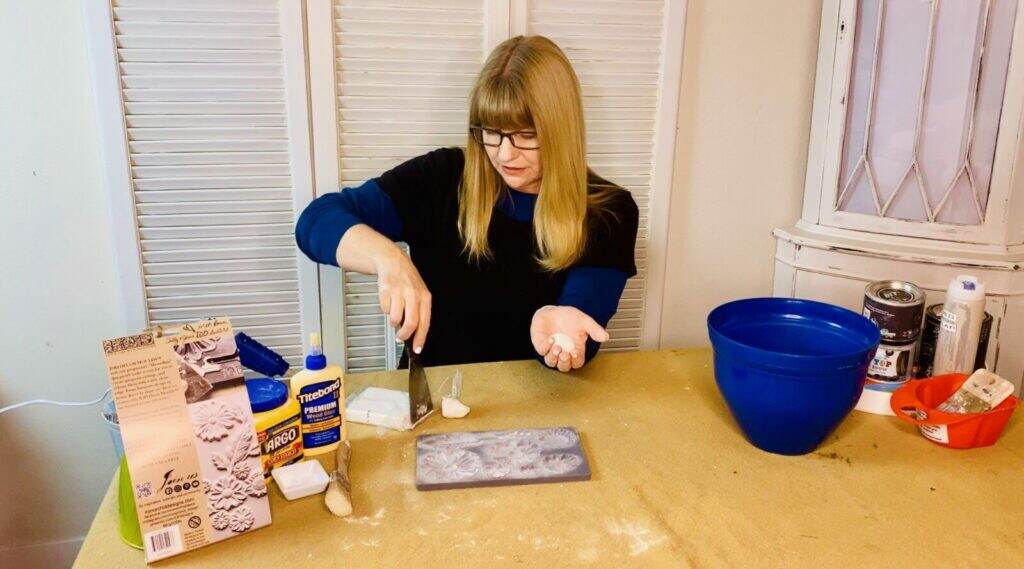
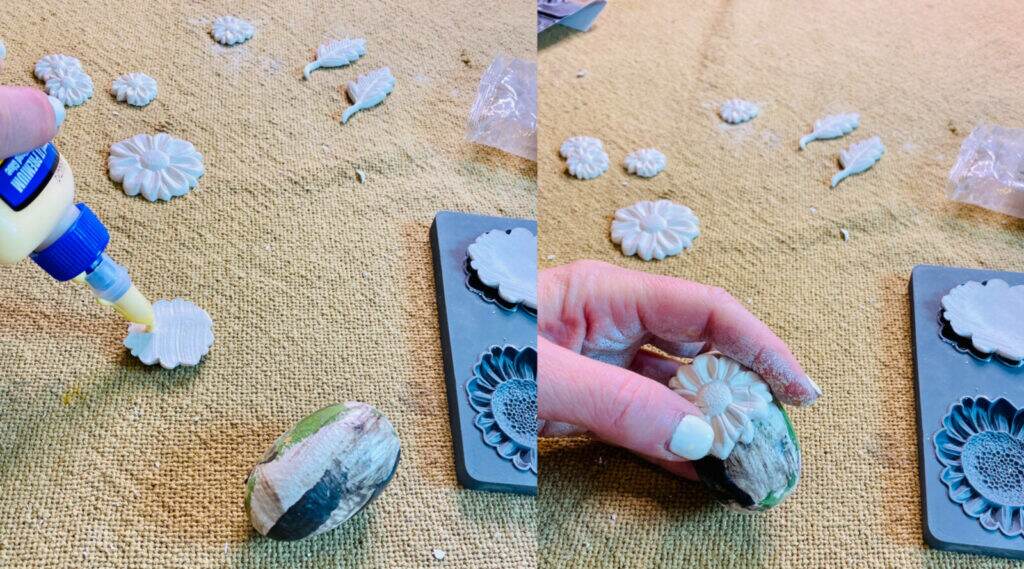
Step three: Roll clay into a ball and press into the mould.
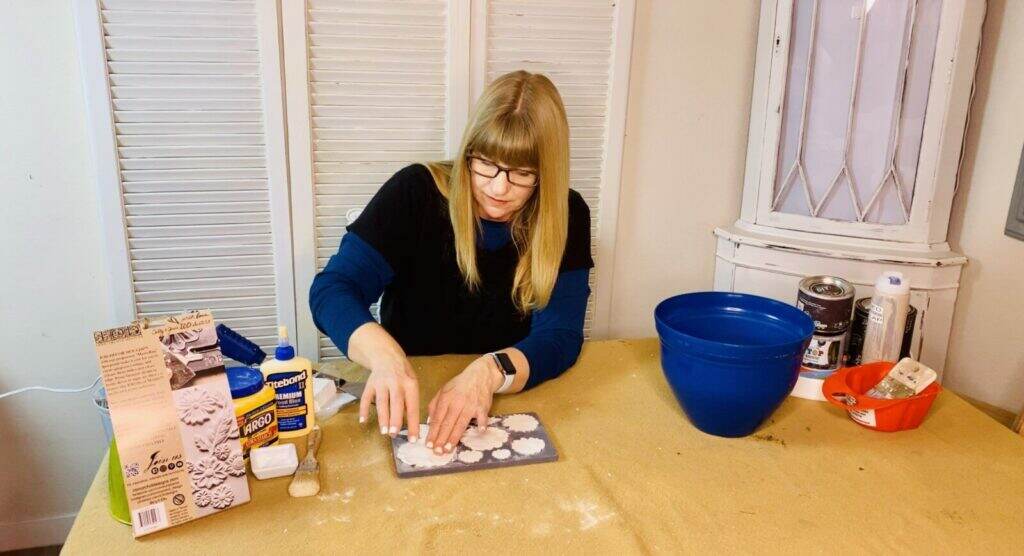
Step four: Use scrapper and remove excess clay from mould. The micro rim will assist in ensuring a flat surface on the back of the mould.
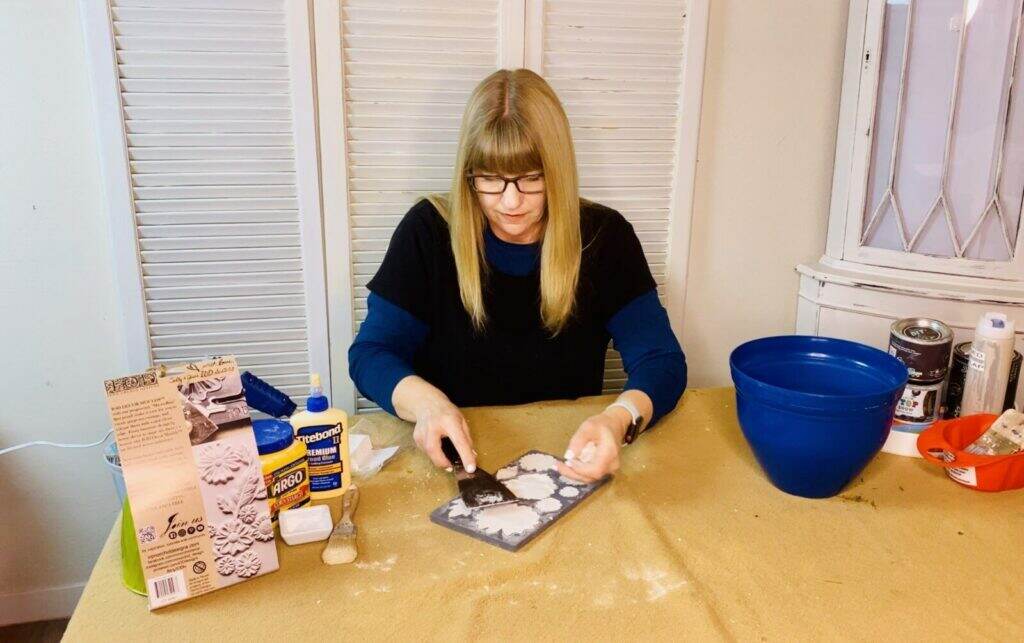
Step five: Once you have pressed clay inside mould, turn mould upside down and let gravity remove the clay from the mould.
Step six: Once your moulds are created and before each dries you can glue them onto the wooden egg surface. Use Titebond or Hot Glue to adhere the clay mould to the wooden egg.
Step seven: Paint your wooden eggs with clay and moulds.
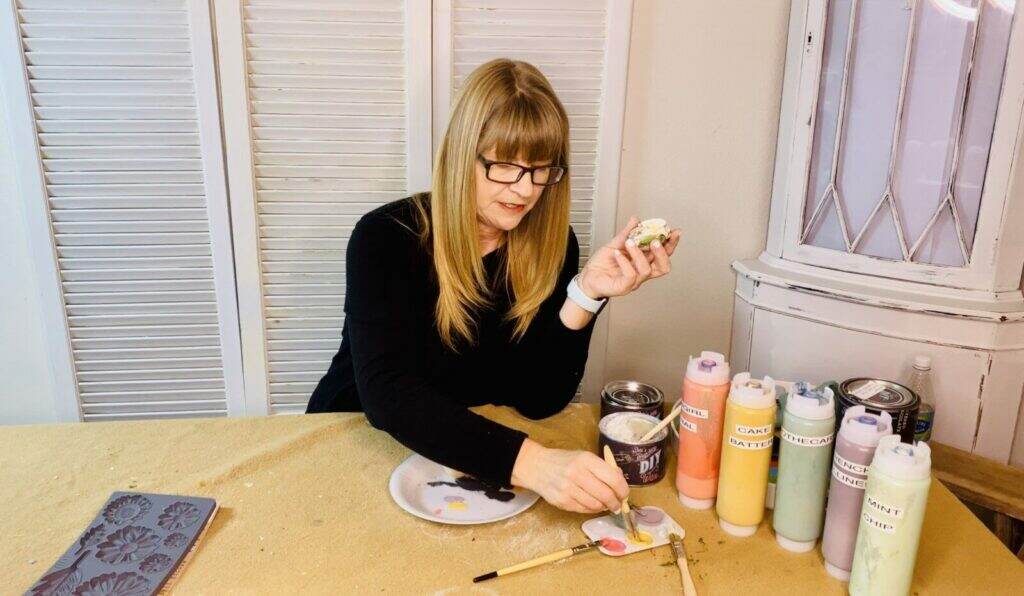
Step eight: Seal your paint with a top coat or wax. I prefer to use wax with clay and moulds as it gets into the crevices and creates a beautiful look.
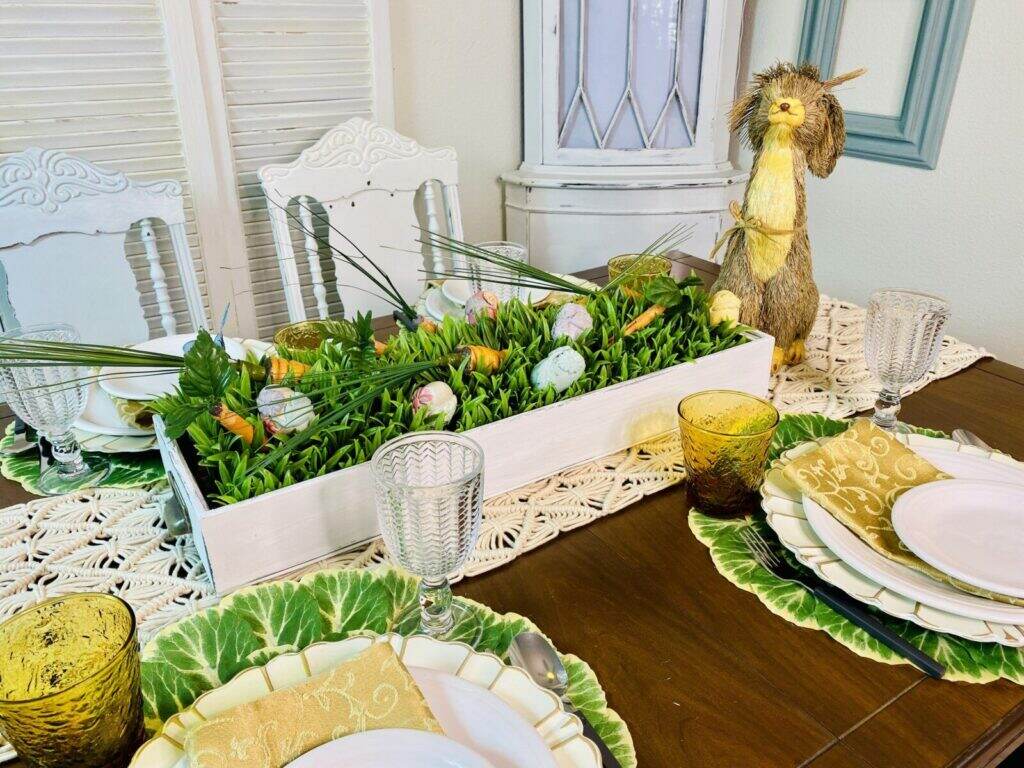
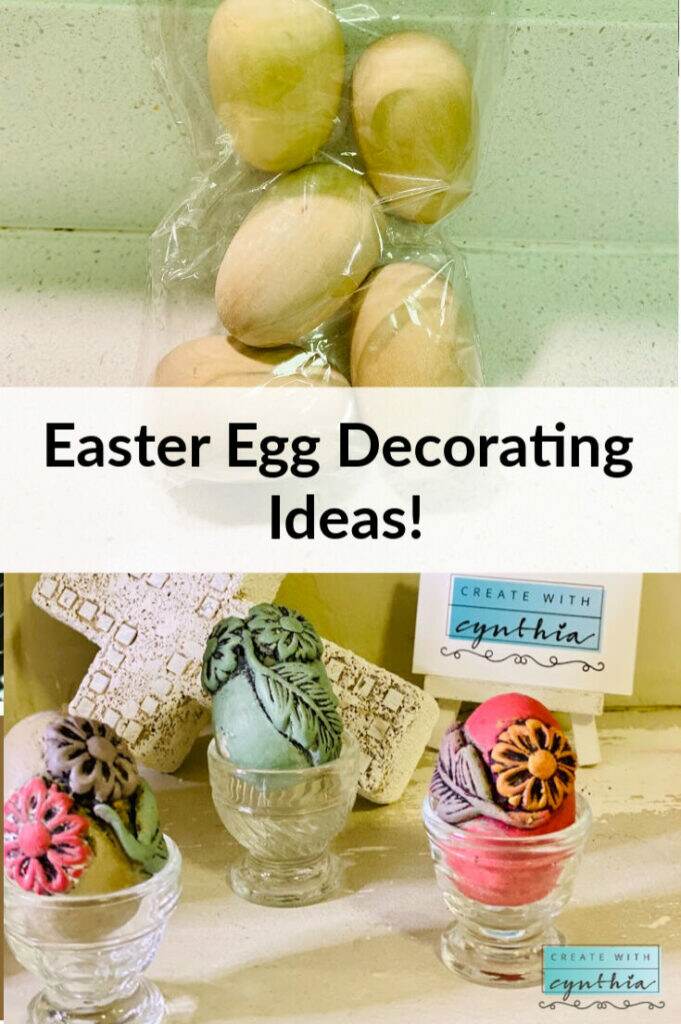
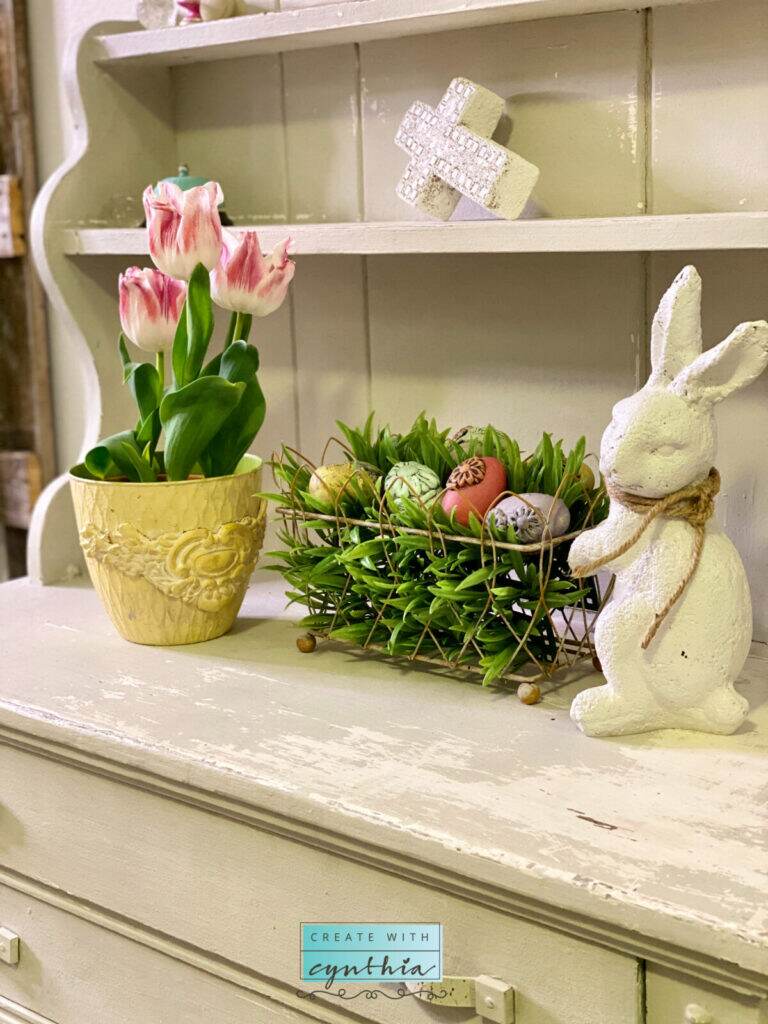
Don’t forget to decorate your eggs by placing them into a wooden box or basket or even on an egg plate.
Now, if you’d like to watch this tutorial on You Tube, you can check out my video, “Decorating Eggs with Clay and Moulds!”
Thanks for stopping by the Create With Cynthia website now go out there and Create Something.
Cynthia